Step 1
Take 4 2"x6"x12' boards and place them in a square. Nail the boards together like in the pic.
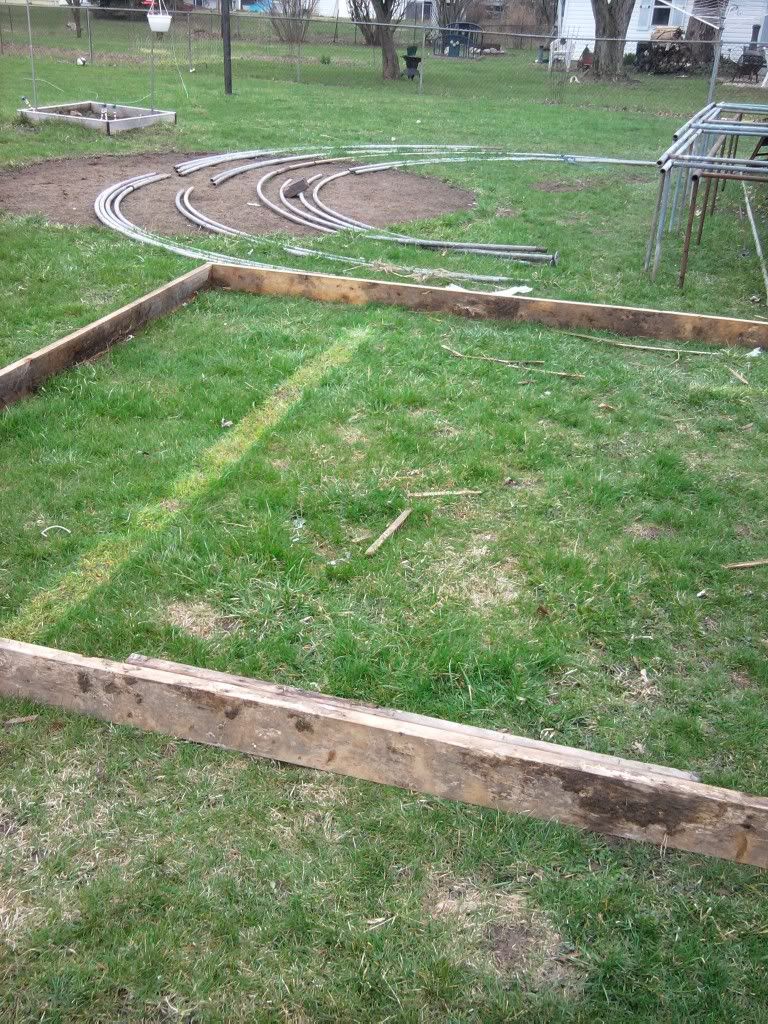
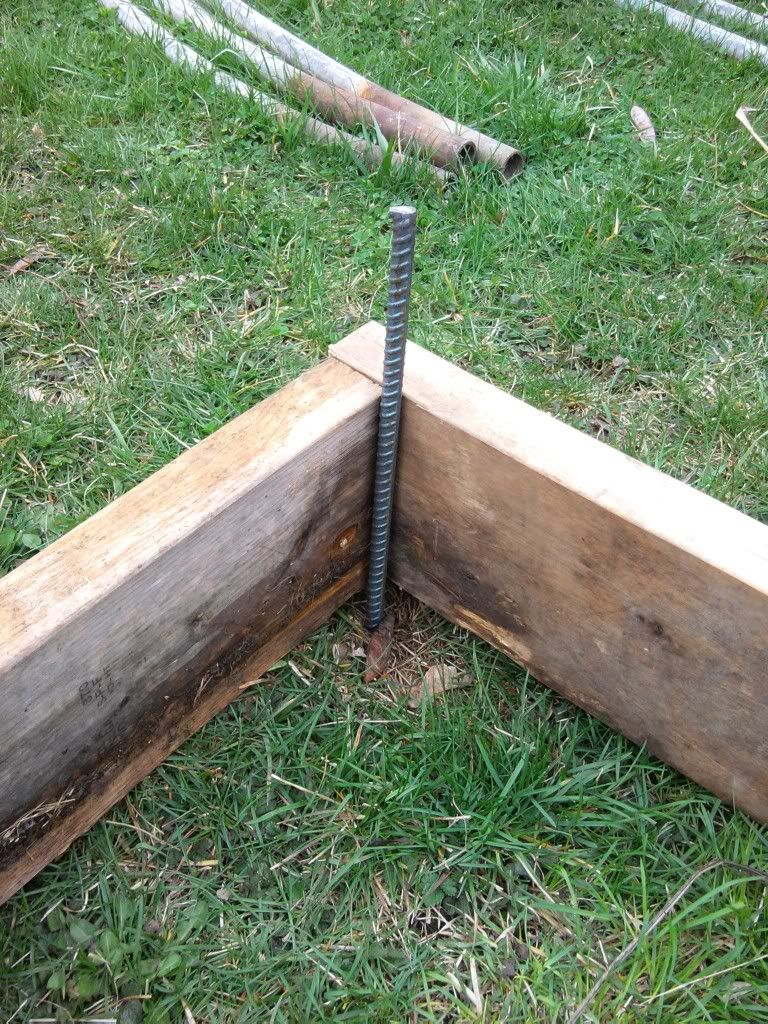
Next, pick which end the sides will be. When you have chosen the sides, hammer 3-4ft rebar in the ground 1.5-2ft deep. Space them roughly 3 feet apart. You will need 10 pieces of rebar for this greenhouse.
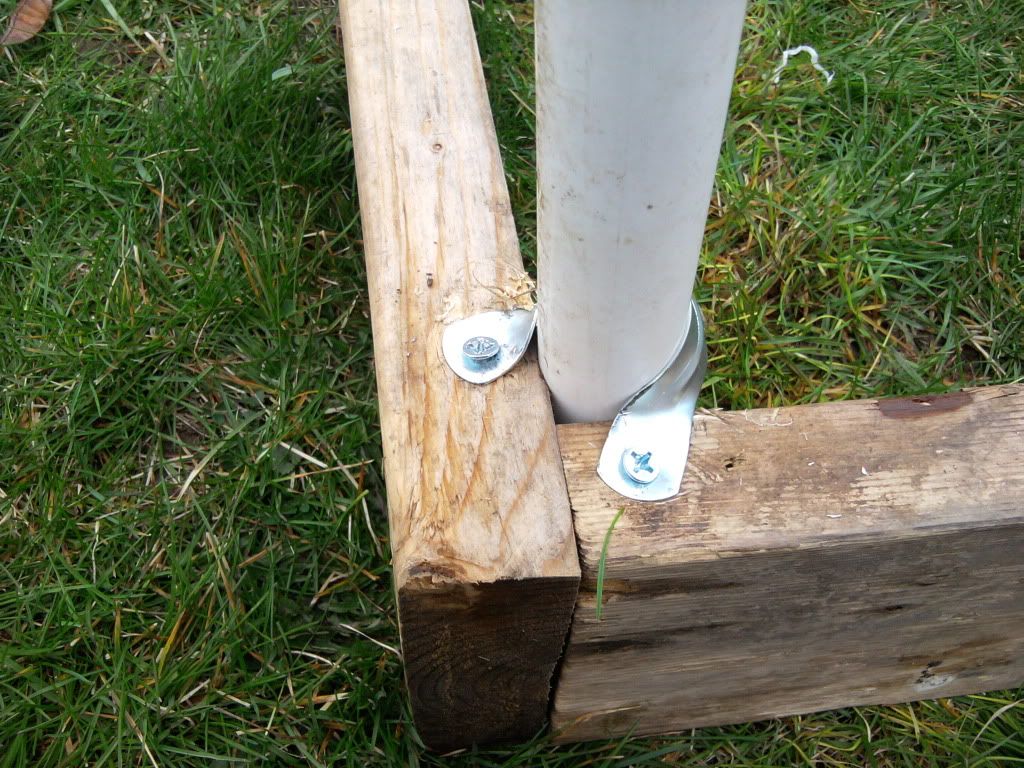
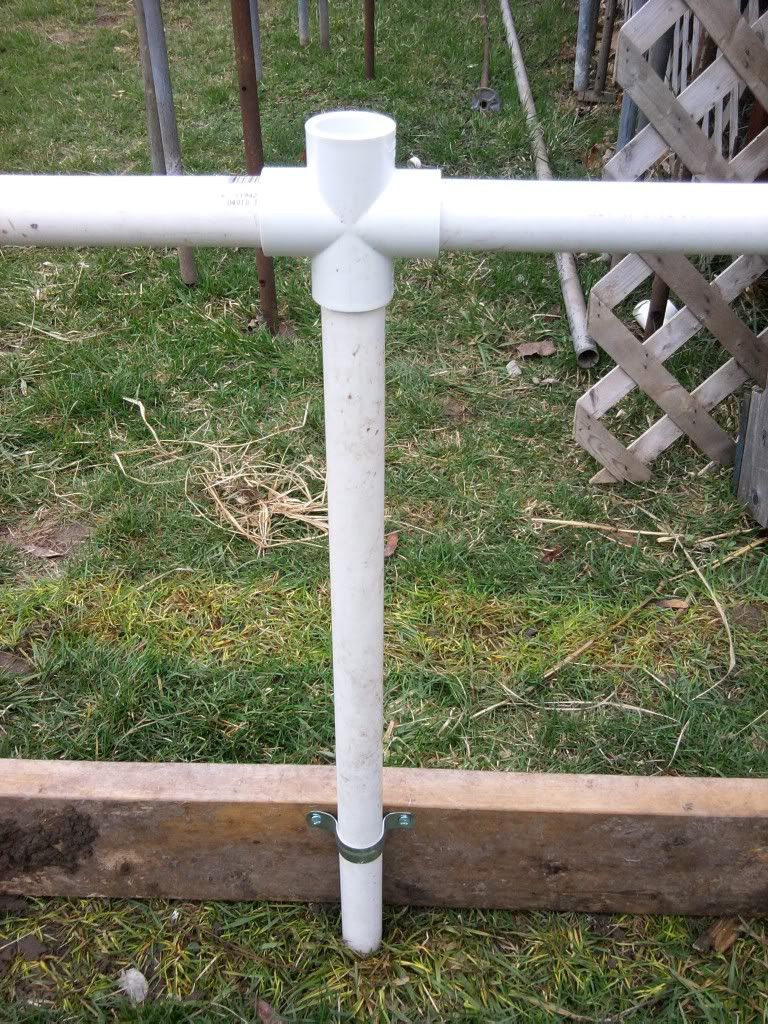
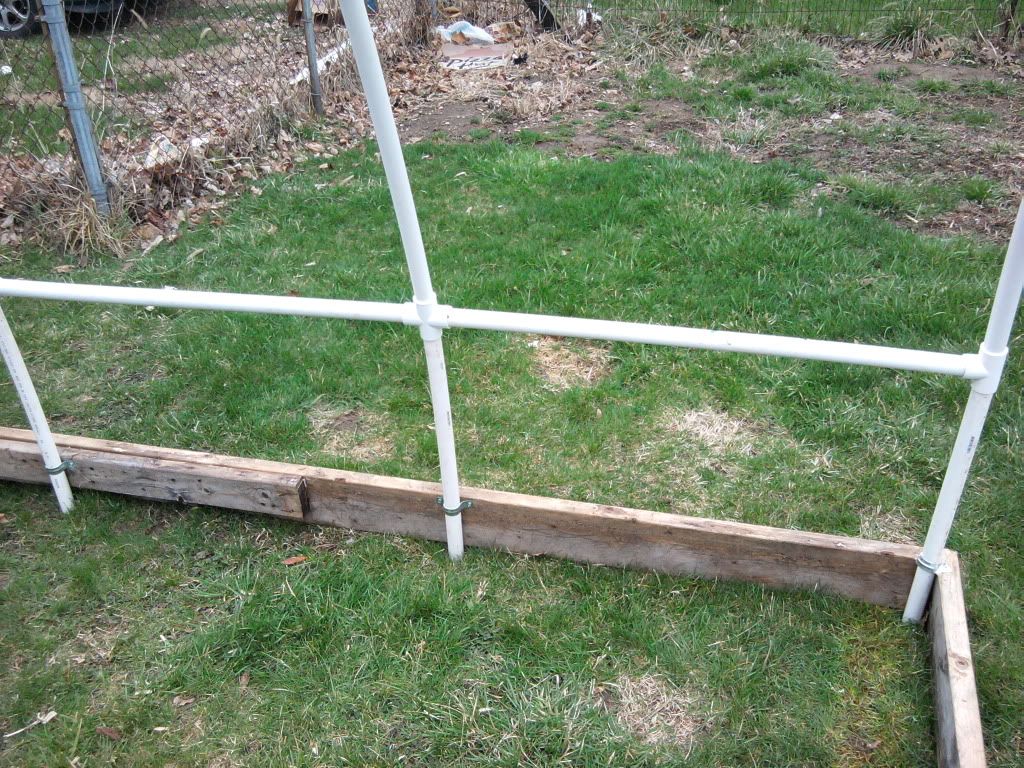
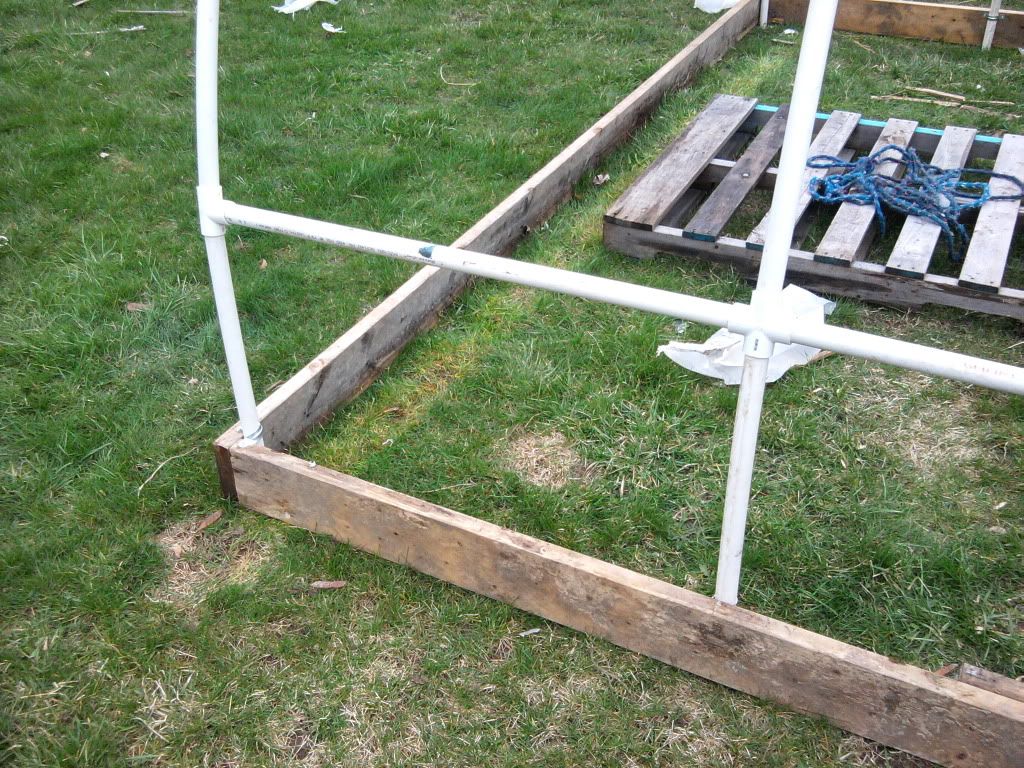
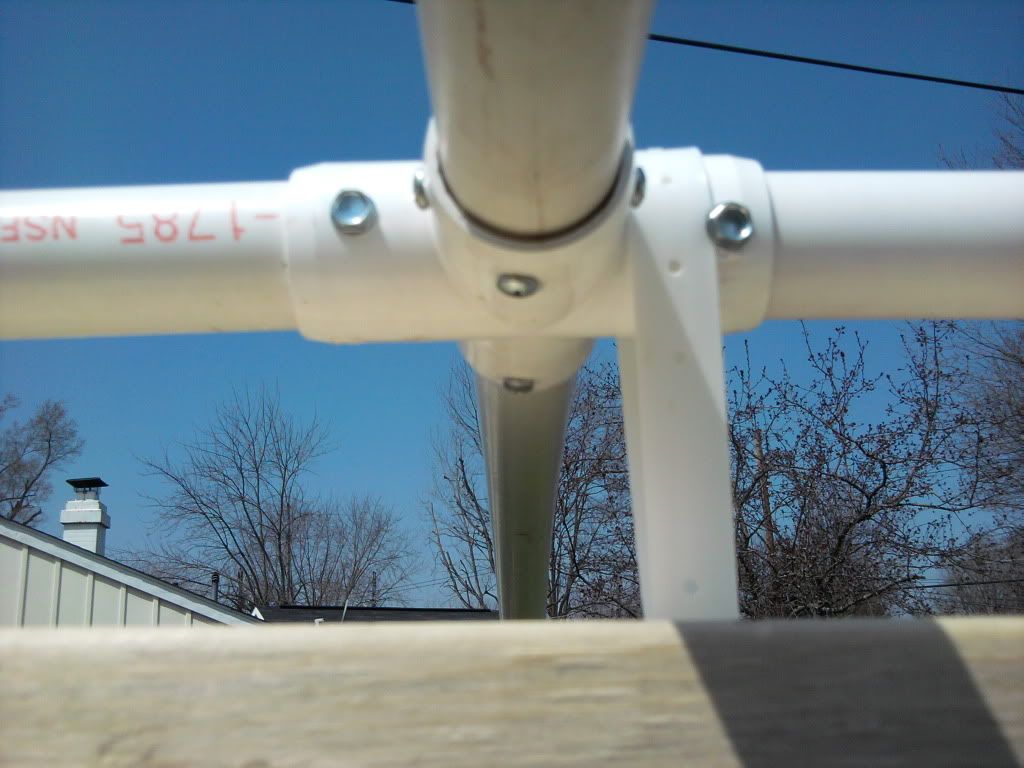
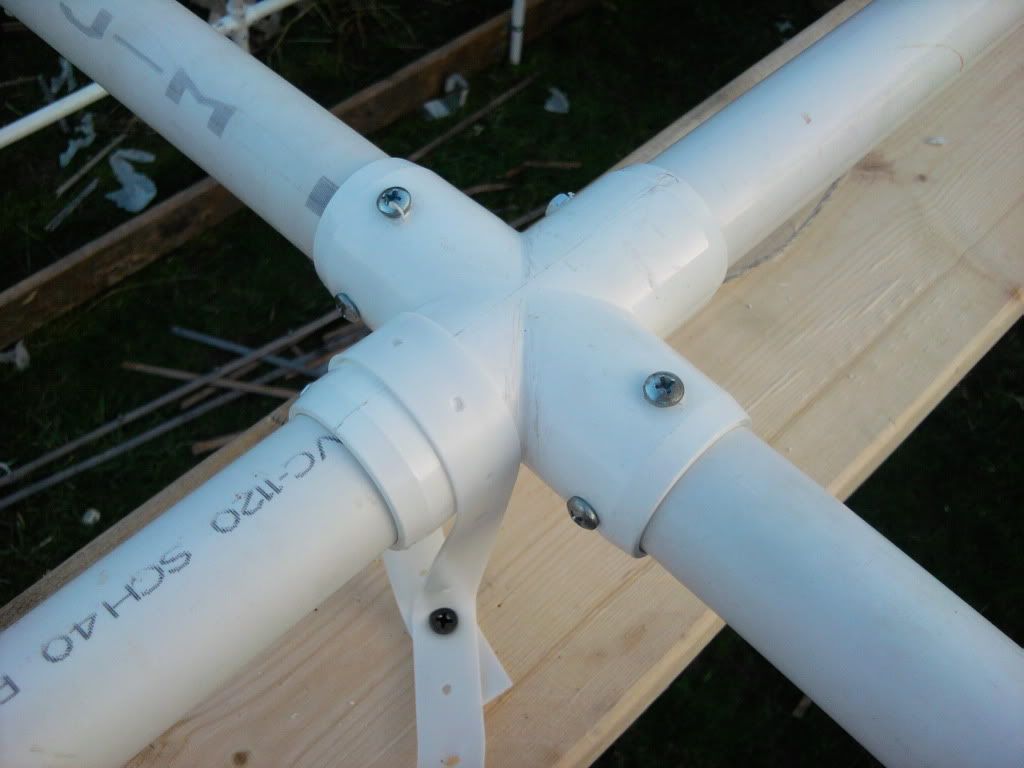
Next, over each piece of rebar, install a 24" piece of 1" PVC pipe. If it is an end piece, then use a "Tee" connector and if it is a middle piece then use a 4 way "Cross" connector like in the pic. In between each connector, install a 36" piece of 1" PVC. Basically you are building a wall out of PVC for the base layer. Use pipe clamp brackets to secure the 24" pieces of PVC pipe to the 2x6x12's. As you can see in the last pic, I had to kind of bend the bracket so it would work on the corner piece.
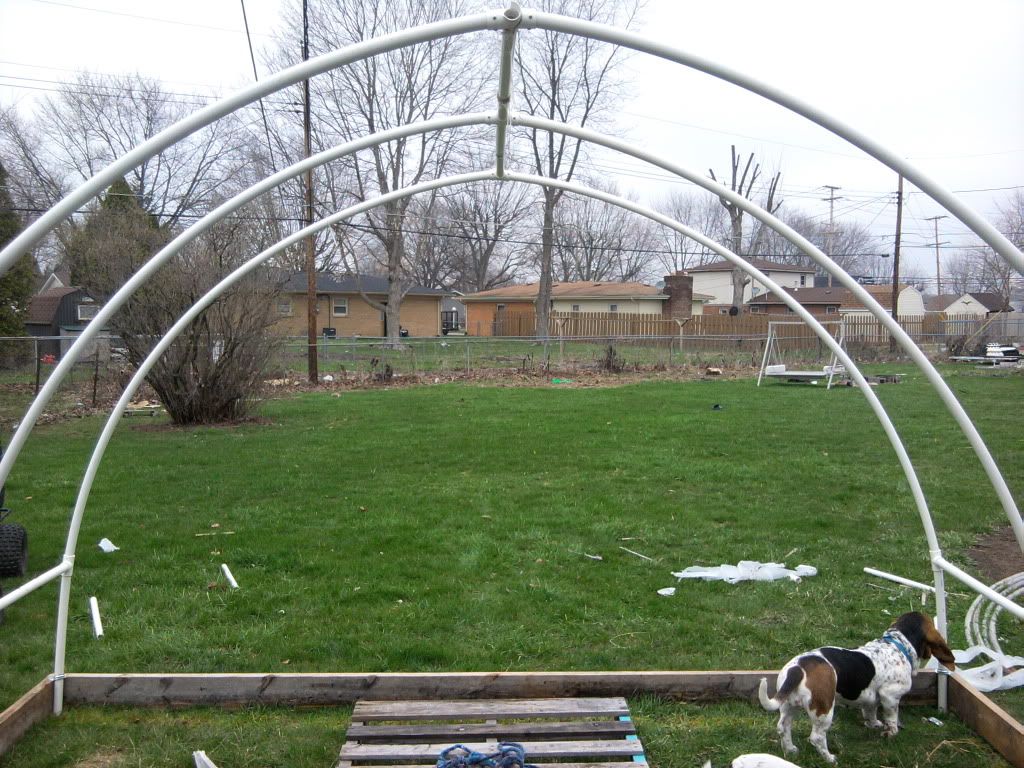
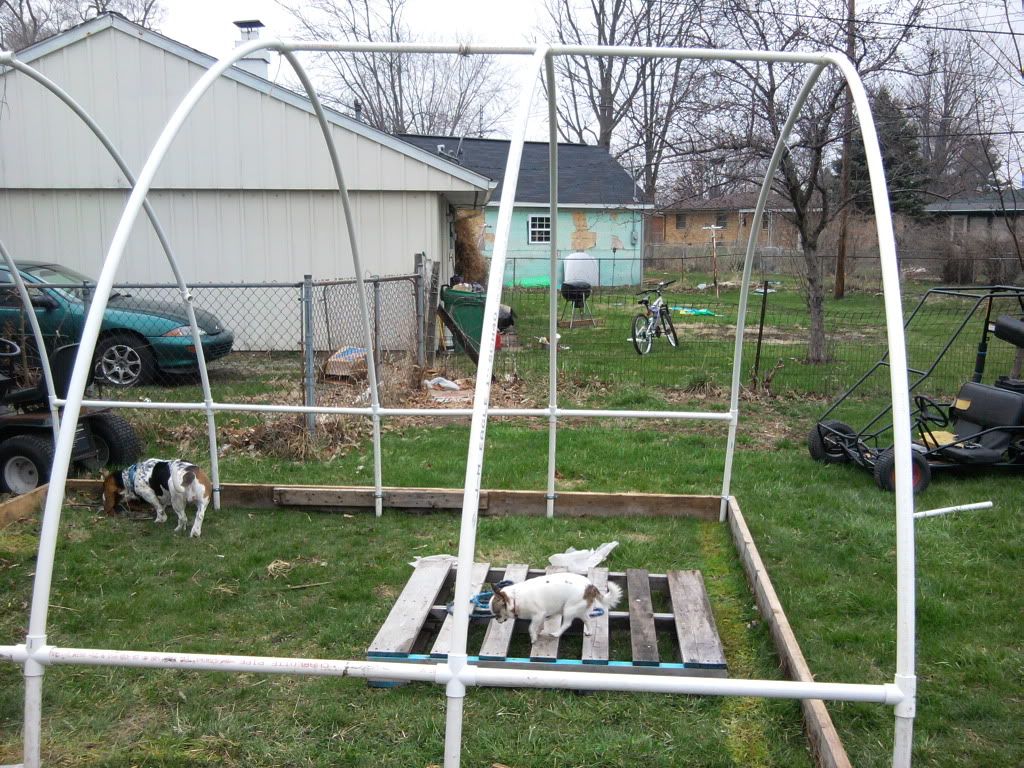
So now you have a base structure and the 2ft side walls complete. Next you want to add the hoops. Each side of the hoops are 8ft long. You could use 10ft pieces and eliminate the small 2ft tall wall. Just run the 10ft all the way to the ground and secure with pipe clamps. Anyways, I found it best to install each arch separately. I first get my 2 8ft pieces of PVC and connect them together with the proper connector. The proper connector is just like the sidewalls. If it is an end arch, then use a "Tee" connector. If it is a middle arch then use a 4-way "Cross" connector. Once you have all the arches installed, connect each arch to the others by installing a 3ft piece of PVC pipe. The other thing I di is make sure I secure each connector with self tapping screws. They work great and hold wonderfully.
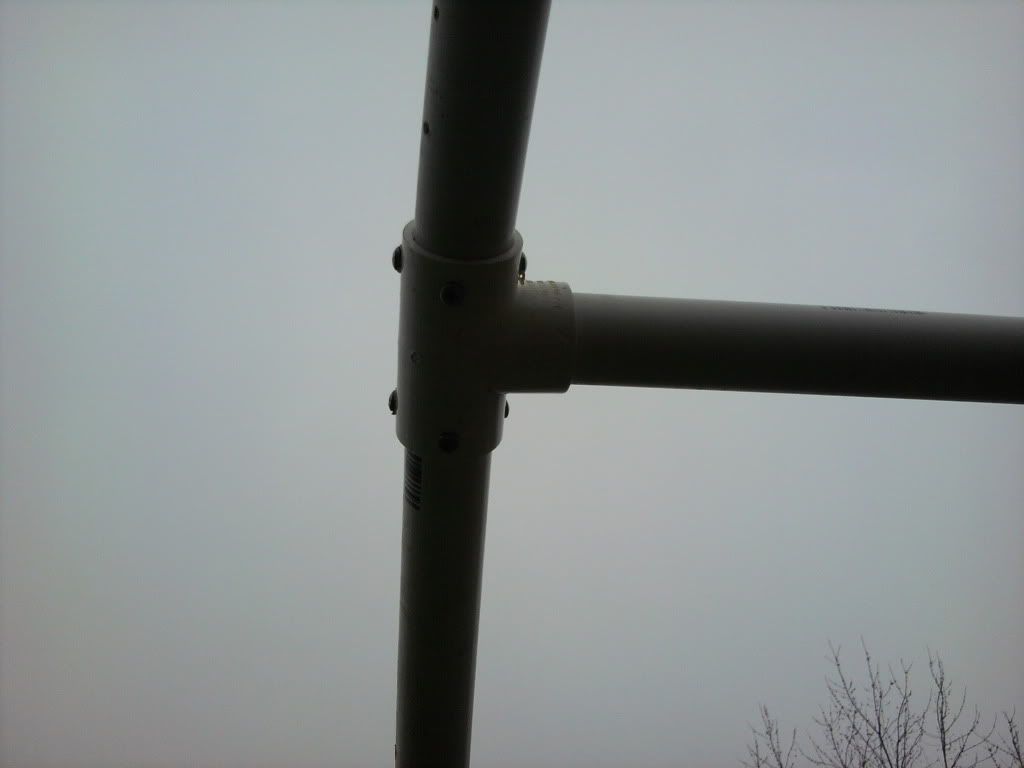
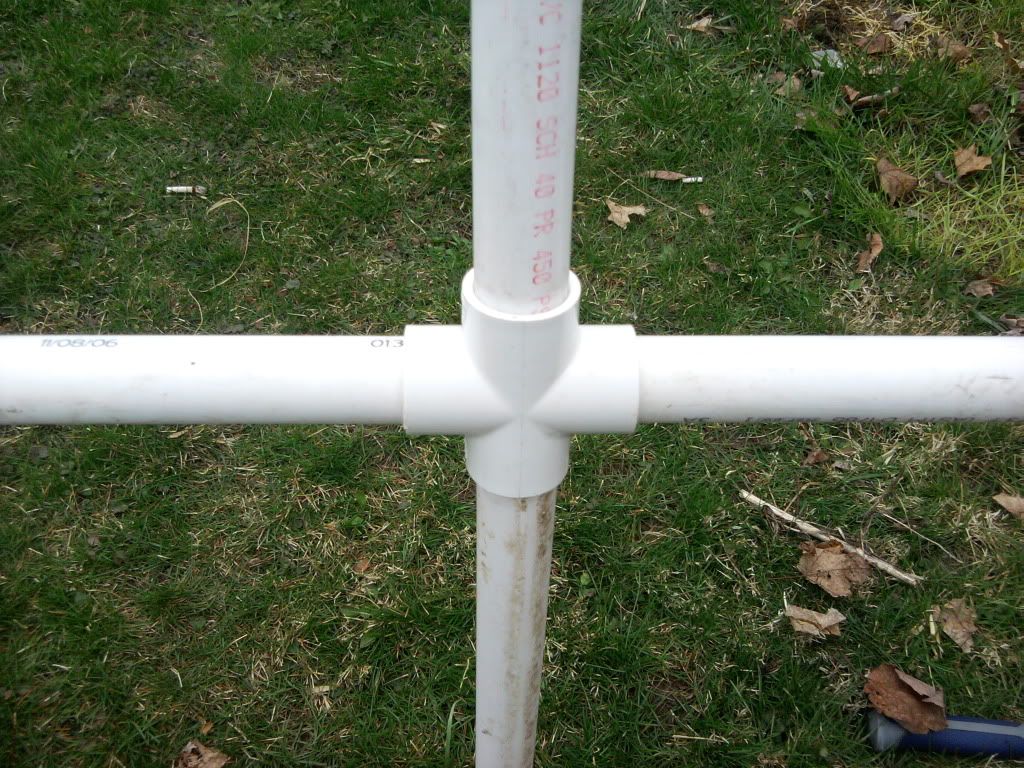
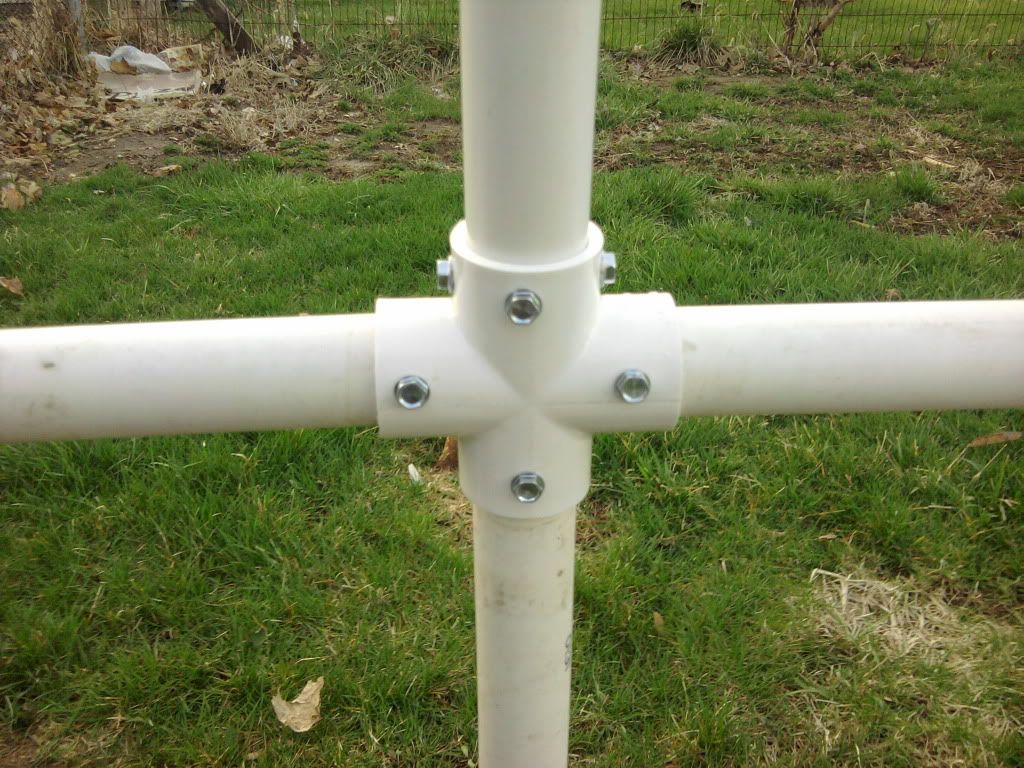
Step 3
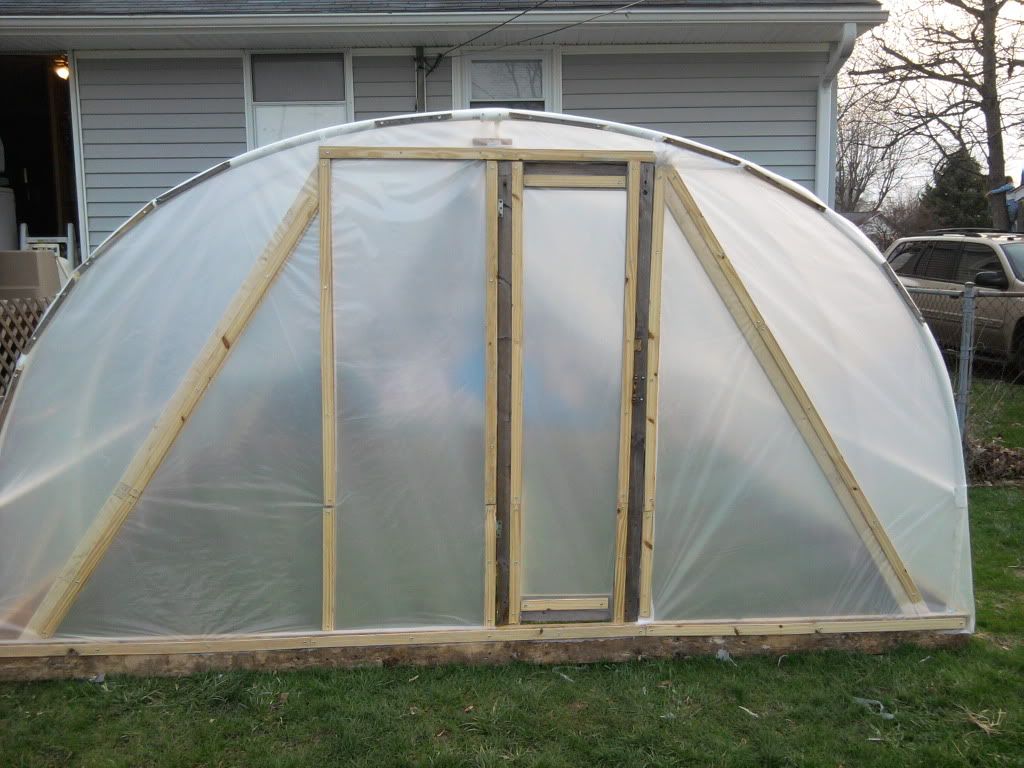
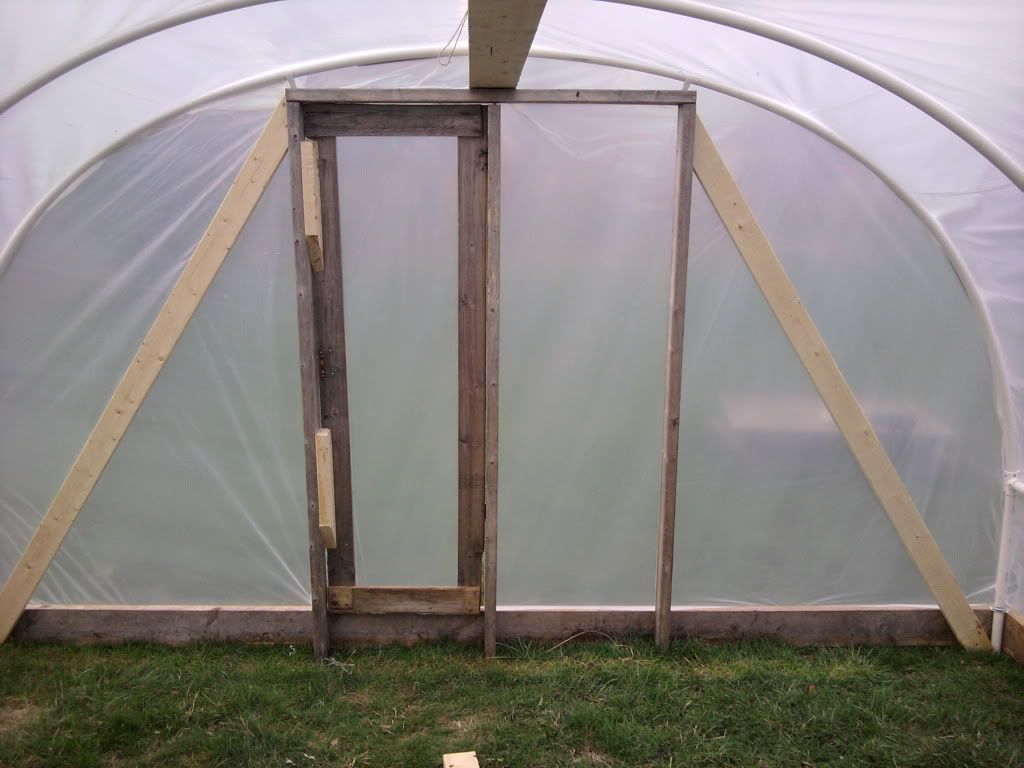
So now we have our base, our sidewalls, and out hoops. It is now looking more like a greenhouse. The next step is building endwalls for the greenhouse. What I did was use 3-2x4x6 and 2-2x4x4 and made an endwall like the one in the pic. I then cut 2 8ft 2x4's so they would fit snug to the frame I built. The 8ft boards are screwed to the frame and to the base of the greenhouse. To really square up the greenhouse I took a 2x6x12' board and ran it from one endwall frame to the other. This will also be used to secure the arches to. I used plastic pipe hanger to attch the arches on the ends to the endwall frame. This stuff is sold in the plumbing section and comes in a roll. It is just a couple of dollars.
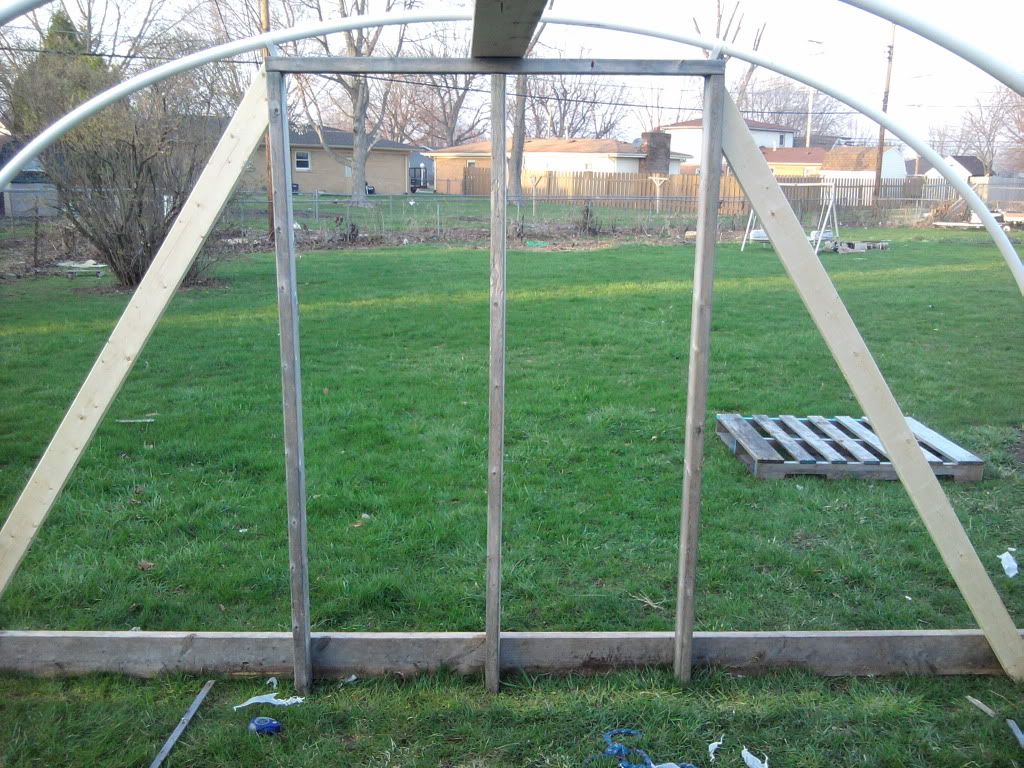
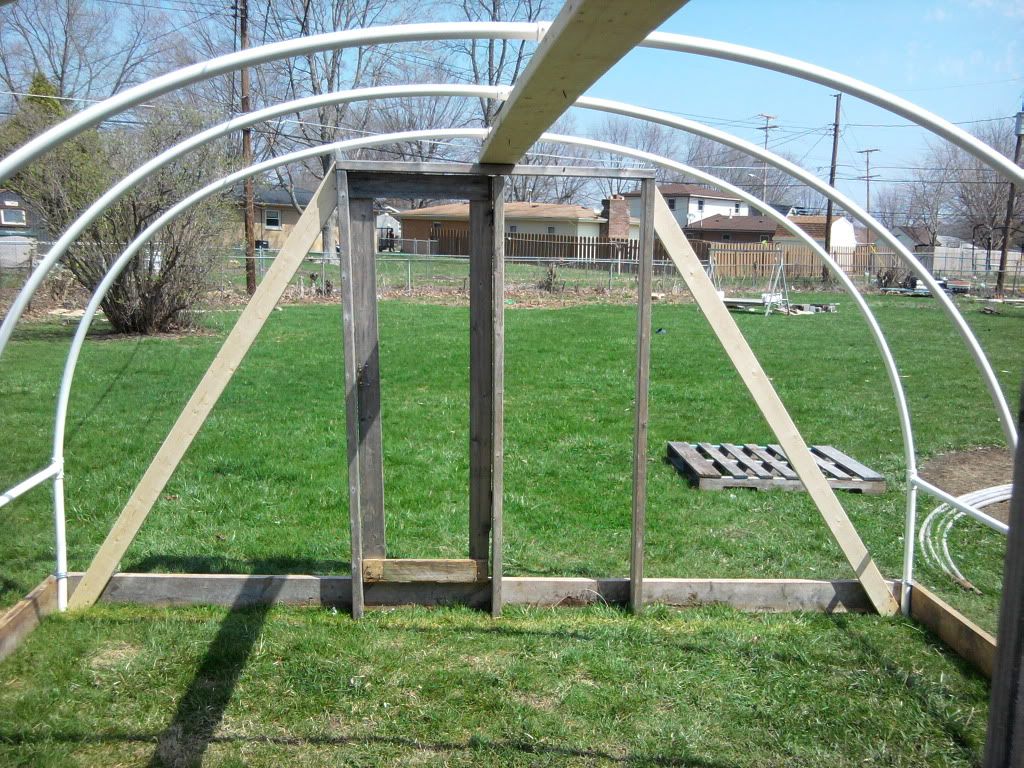
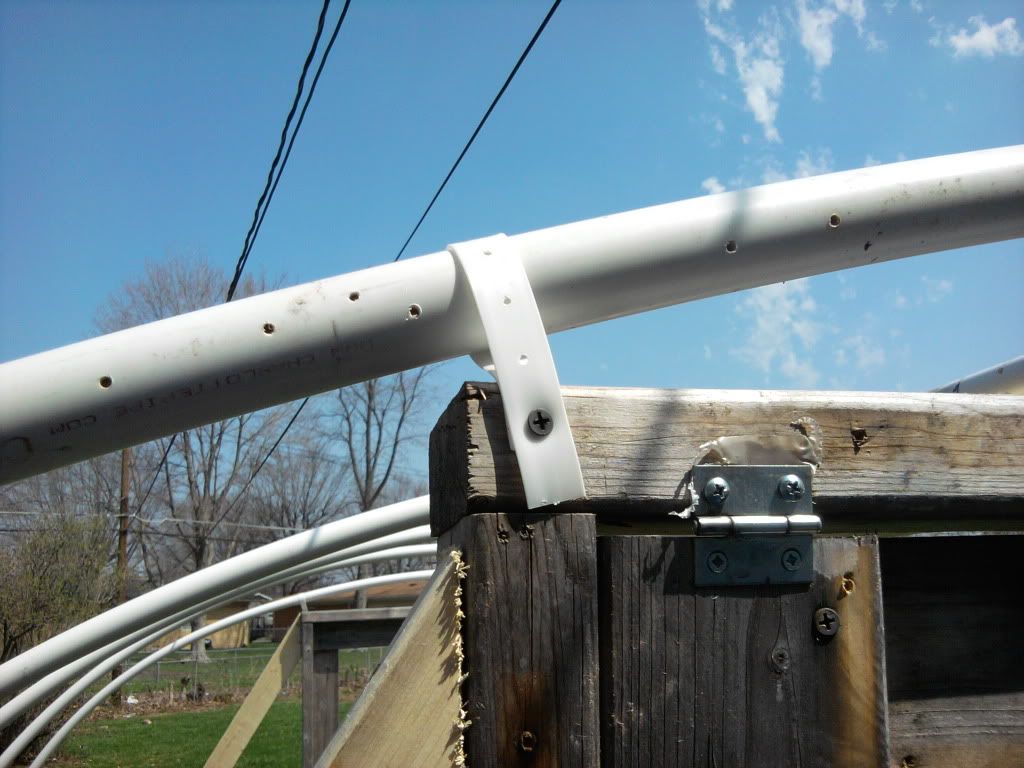
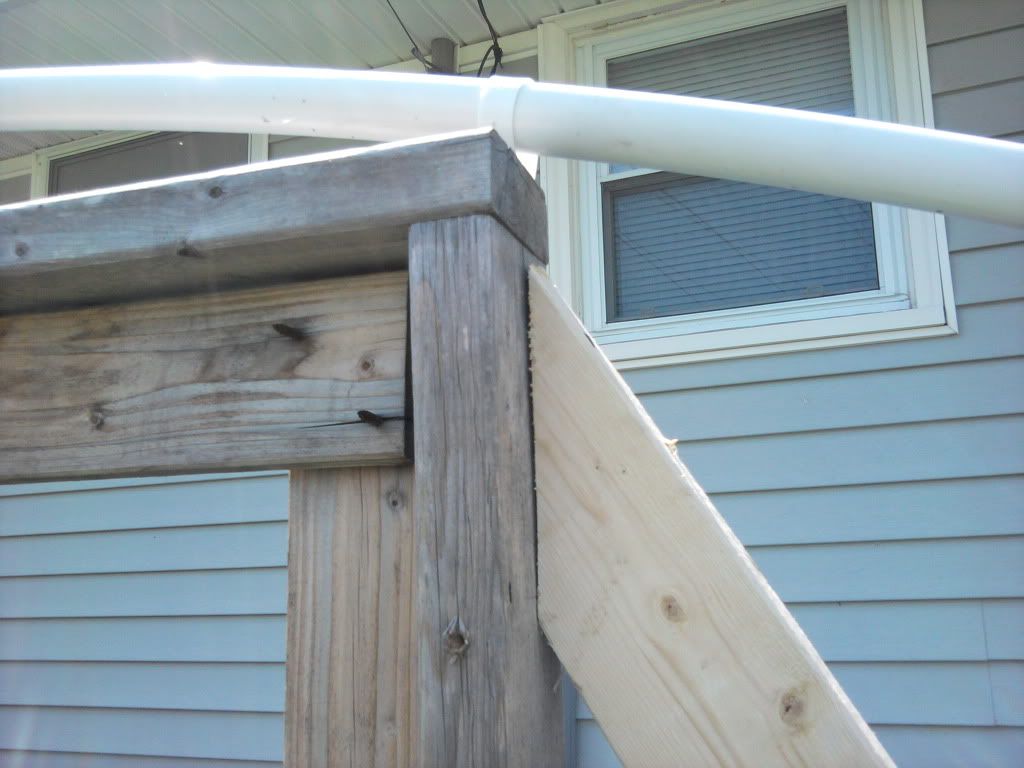
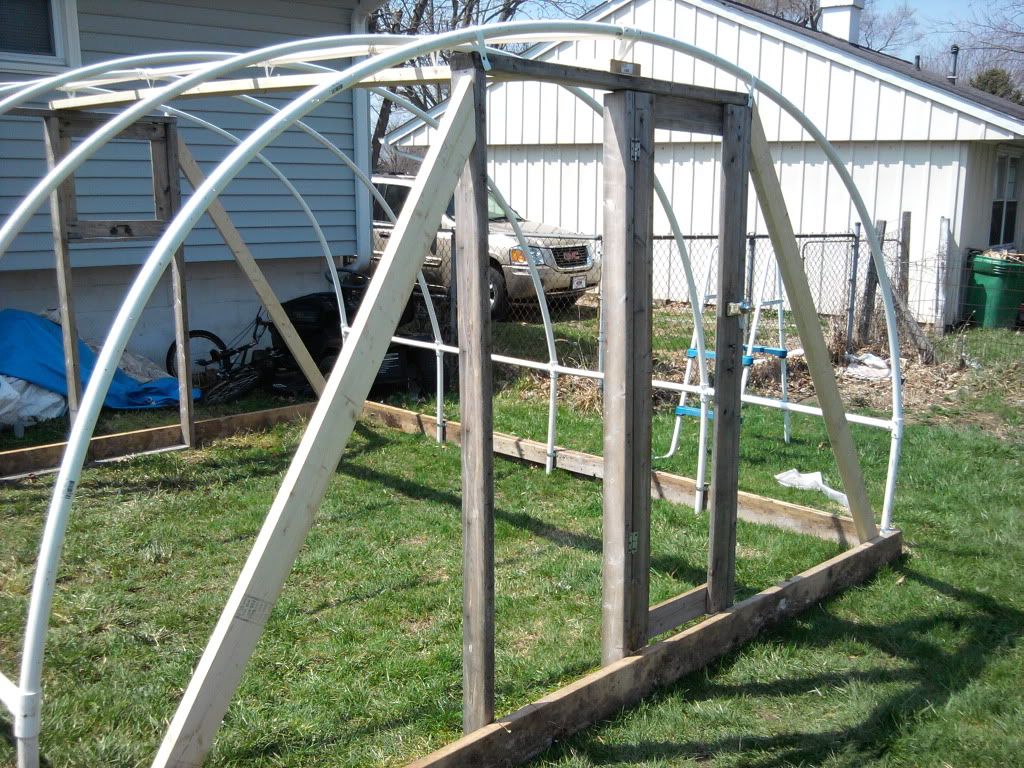
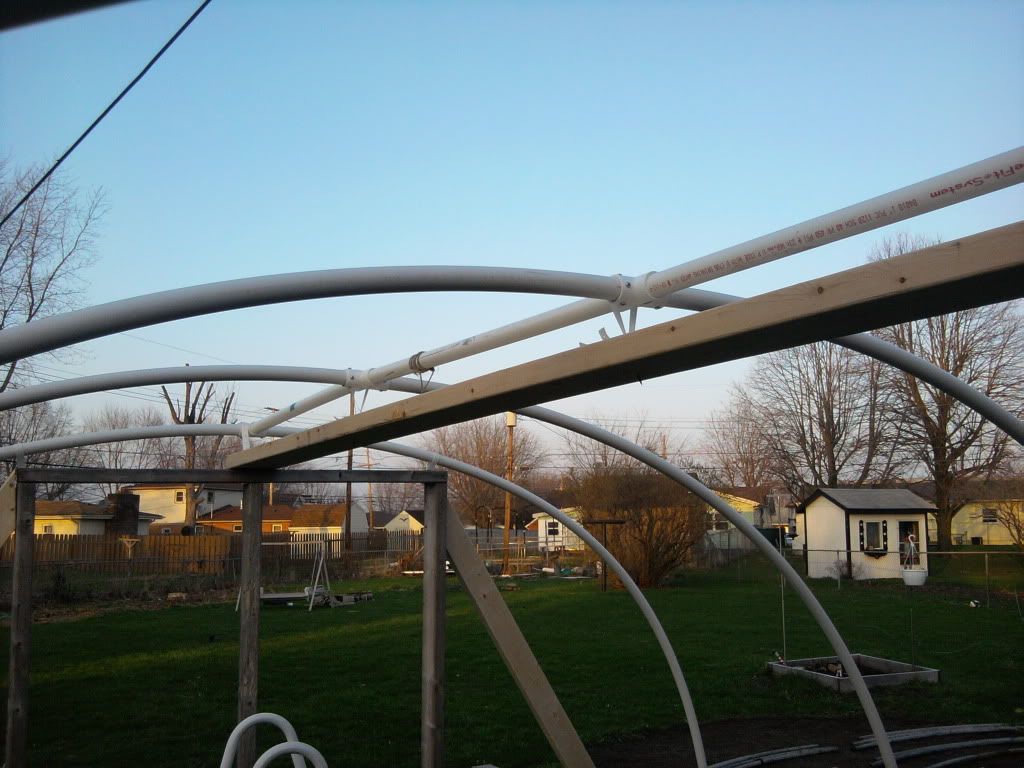
If you look at the pics you will see a top view and bottom view of the arches that are screwed to the 2x6 to is running along the top. Now when I did this, I pulled down the the arches as I screwed it to the 2x6. The reason I did this is to cut down on the tension at the peak where the connectors are screwed to the 8ft pipes. I hope this does not sound confusing. We will come back to that part when we are all done.
Step 4
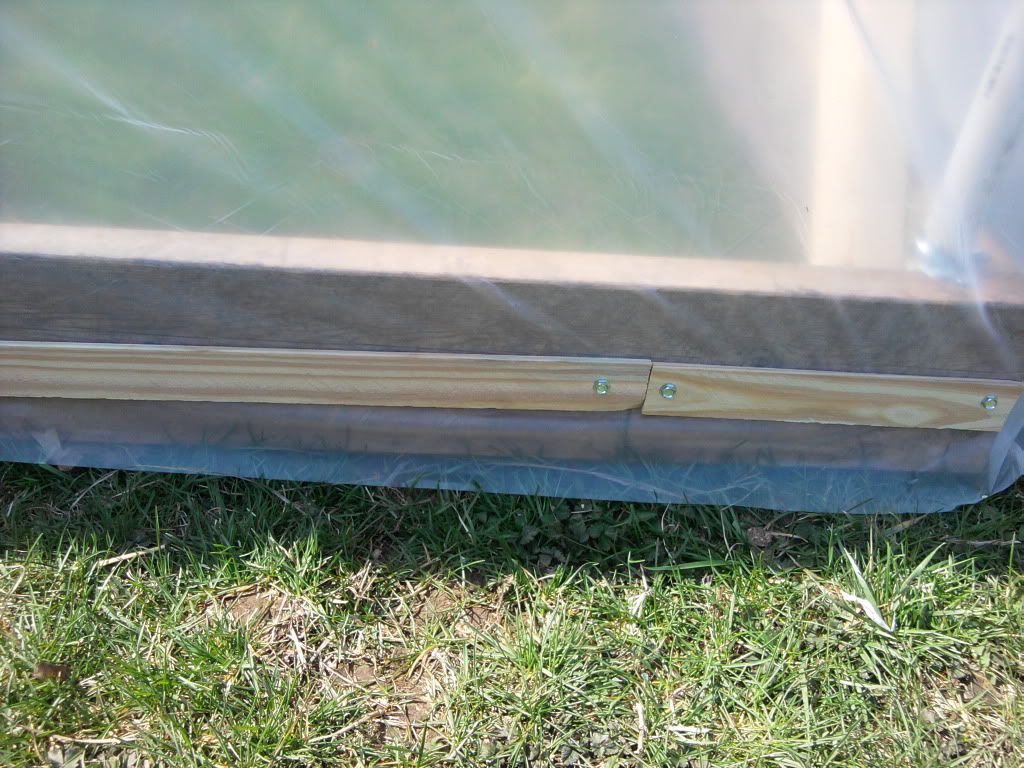
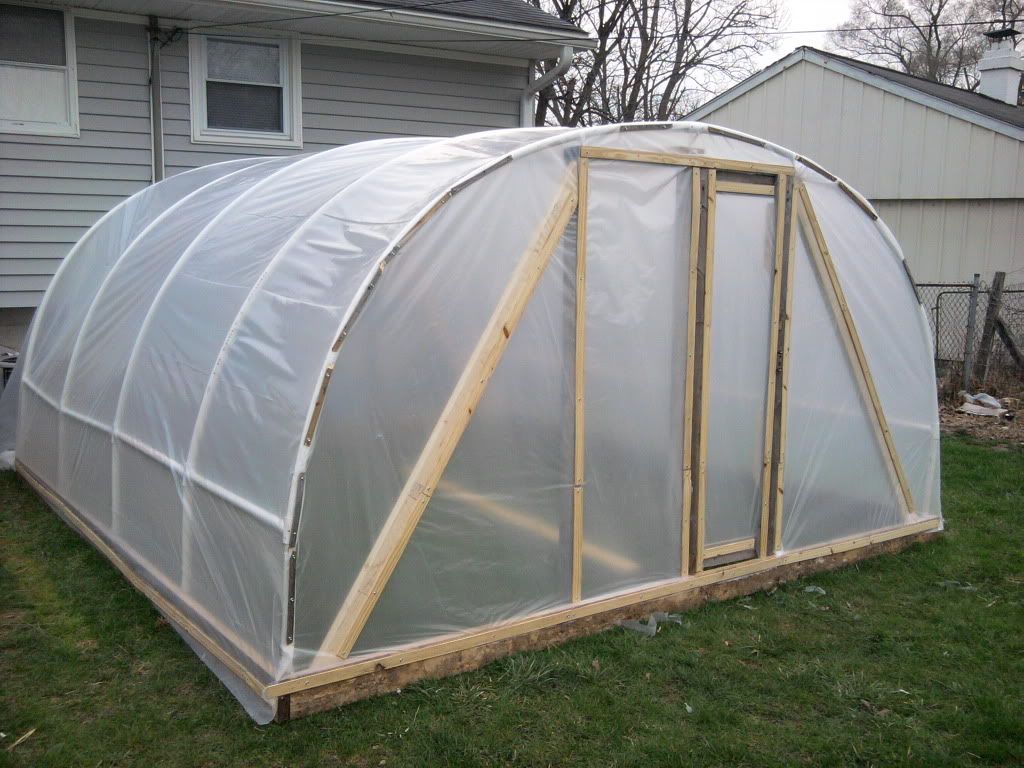
Not much to explain about putting plastic on the greenhouse. I used self tapping screws where I had to use small pieces of wood on the PVC pipe itself. I used nails and screws attaching plastic ot the endwalls and base. I just used the this strips of wood like in the pic.
Step 5
Remember when we used the plastic pipe hanger to "pull down" on the arches to relieve stress? So this is the last step and this I came up with on my own. Works great. If you are like me, then your plastic is not going to be perfect. It will have some loose spots, etc. Now that it is all up and the plastic is all attached, what you want to do is pull down on the arch that is tied down to the 2x6 along the top, and cut the pipe hanger. Do this slowly and when you do, the arches will want to bend more. Basically it willbow a bit and since the plastic is holding it on, it just tightens the plastic up around the greenhouse. Look at the before and after pics below and you will see in the first pic that the peek of the greenhouse is more pointed than round. That puts a lot of pressure on the main connectors at the peak.


Well, I hope this helps some of you out there. Post comments and let me know what you think, or poast questions you may have.

very nice! i wish i had the space to put one up.
ReplyDeleteCool Greenhouse. I dont know if I can justify the cost to make one...I know it is 1/3 the price of a commercial green house but it might be considered over doing it for my hobby. Anyway, what are the dimensions of the plastic that you use? I can't find any seams and I don't know that I have see that stuff if bigger than about 6 foot wide rolls.
ReplyDeleteThe plastic was purchased at the "evil empire" (aka Wally World) in the painting section. It is a roll that is 20'x25' 4mil plastic sheeting. It was $25. Hope this helps!
ReplyDeletei just built this same hoop house using your plans and it turned out perfectly. thanks for posting this!
ReplyDeleteWould have been Nice if you would have added a parts list
ReplyDeleteLOVE you plan and am building one if not two or three
Awesome, glad it helped.
ReplyDeleteI will add a parts list in the near future.
ReplyDelete