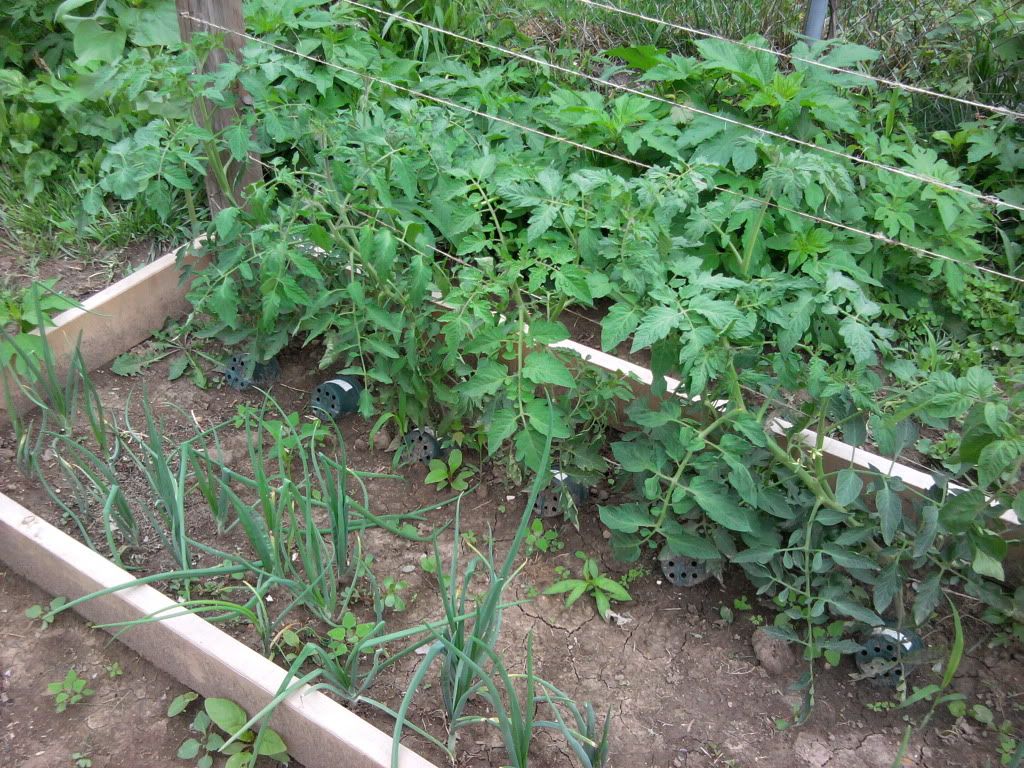
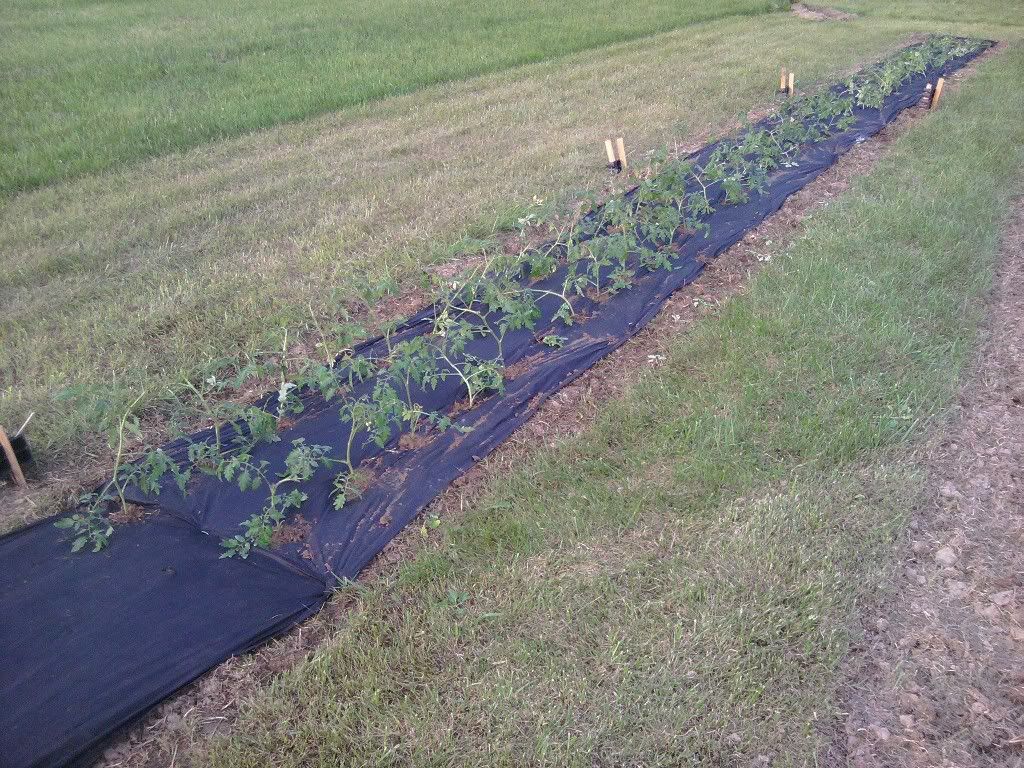
The first pic is of one of the heirloom tomato beds before removing more of the suckers.
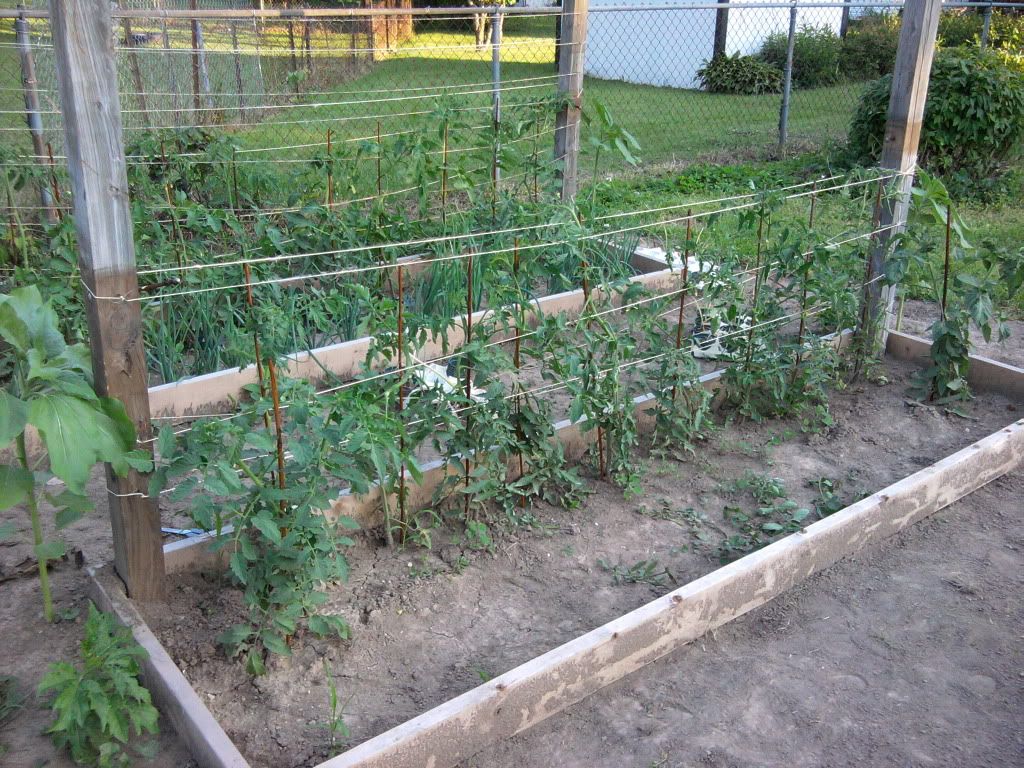
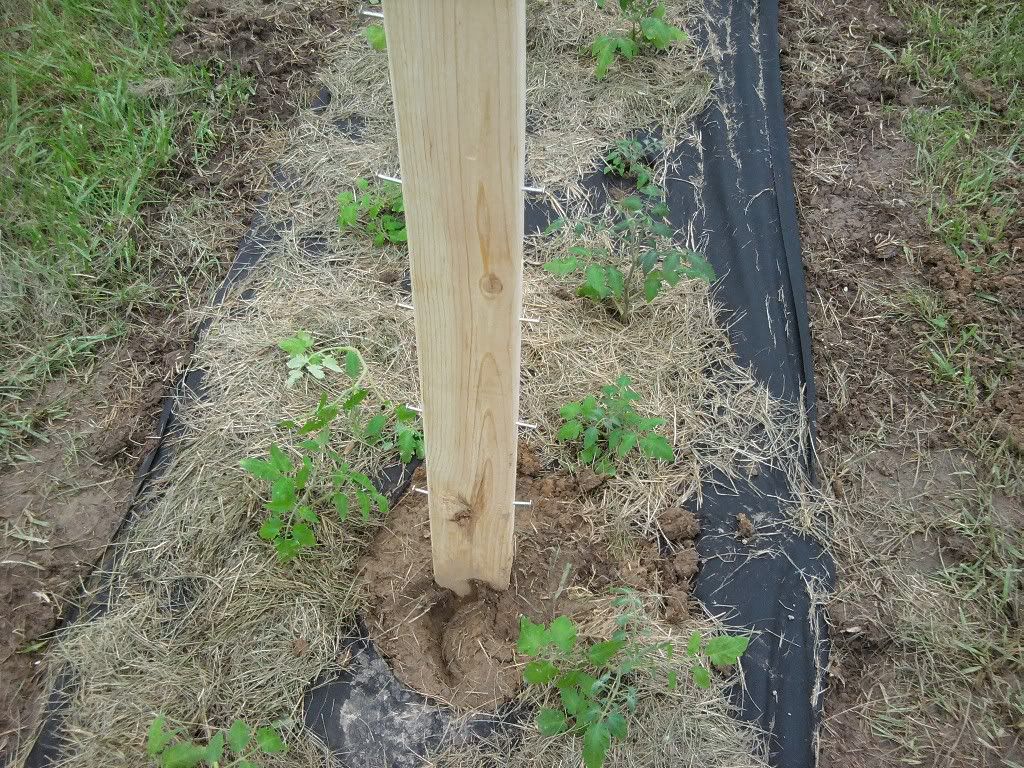
This pic was taken from the front of the tomato bed. You can see the plant almost looks bare compared to the first pic. This is my first year for trying this, so we will see for ourselves. I have heard so many good things about his method.
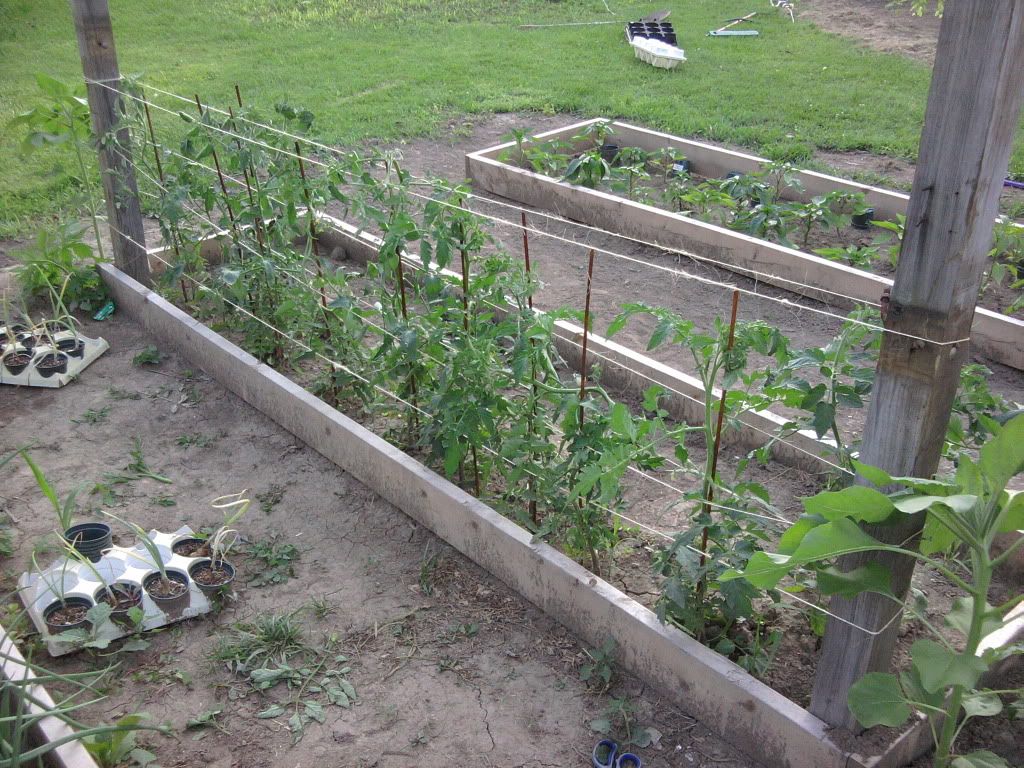
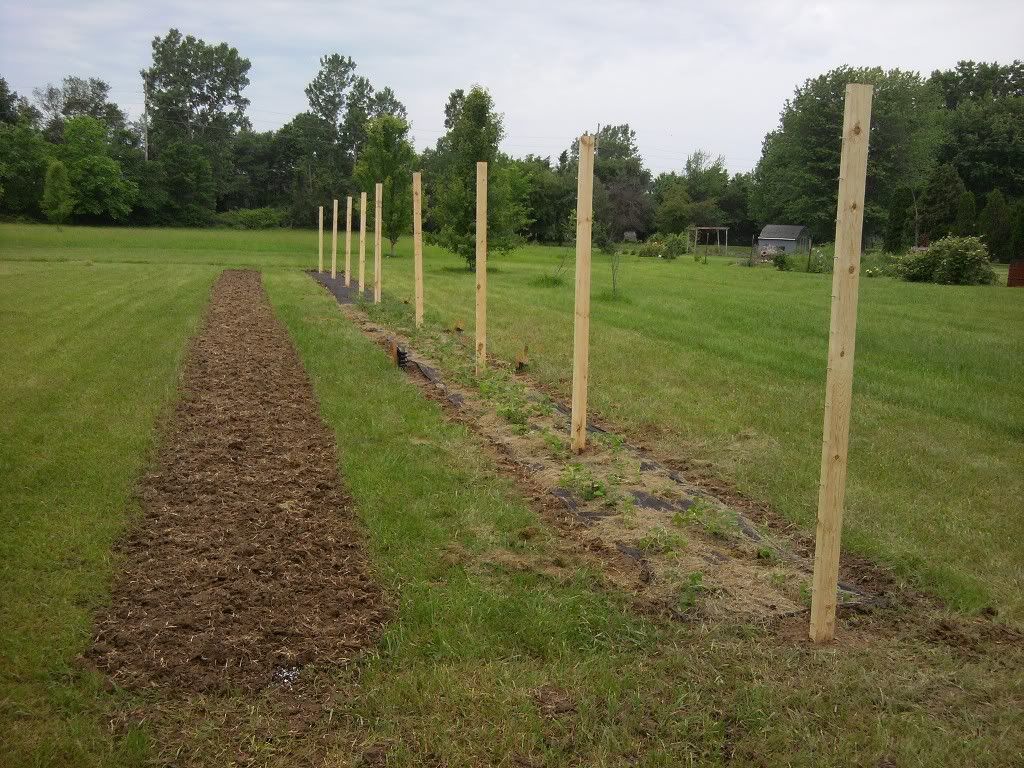
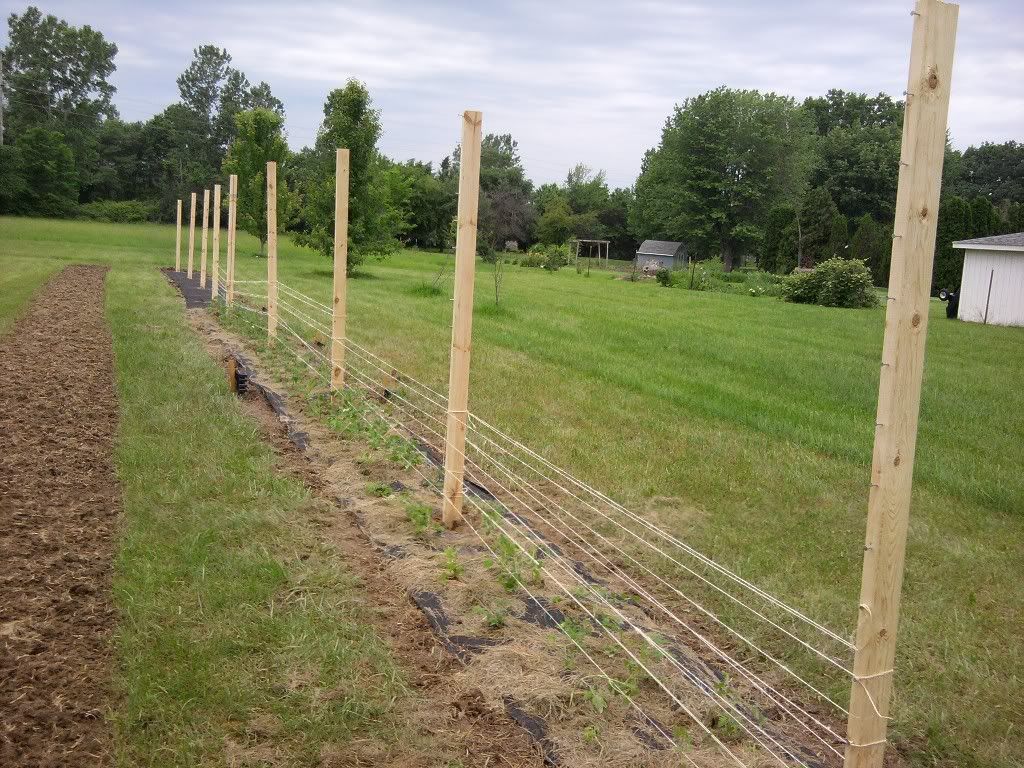
This last pic was taken from the back of the heirloom tomato bed. I had to install bamboo stakes to help the plants go up the trellis. The plants are massive and heavy so they need lots of support.
Wednesday, June 29, 2011
Hot & Sweet Pepper Garden Update 6/29/2011
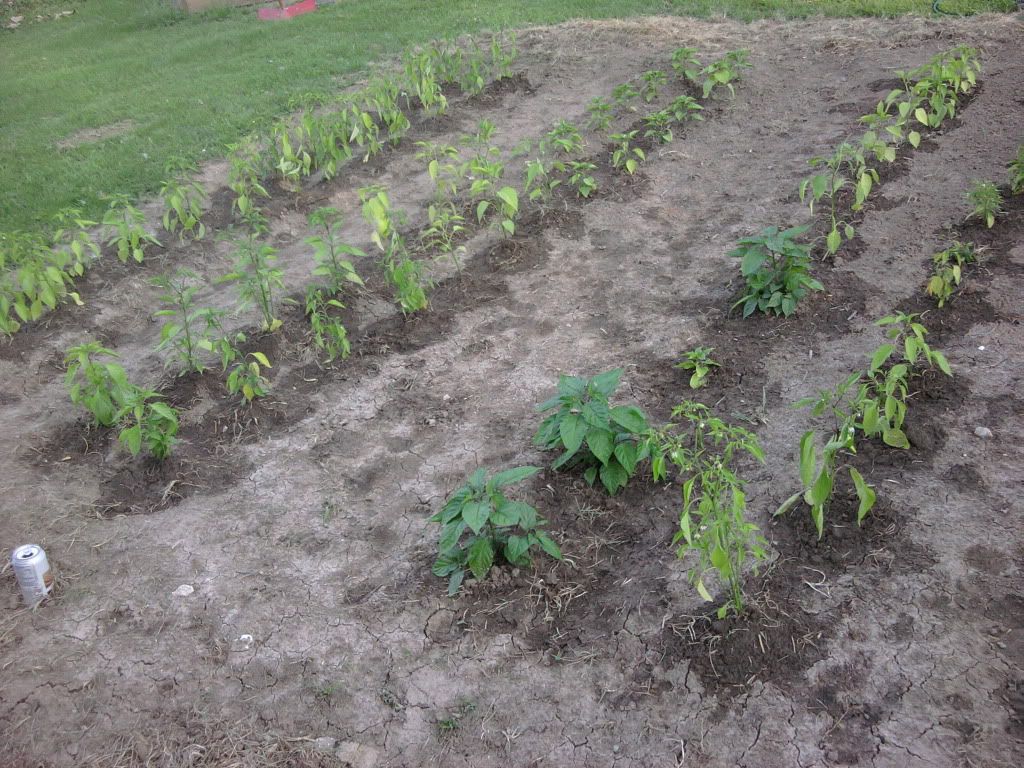
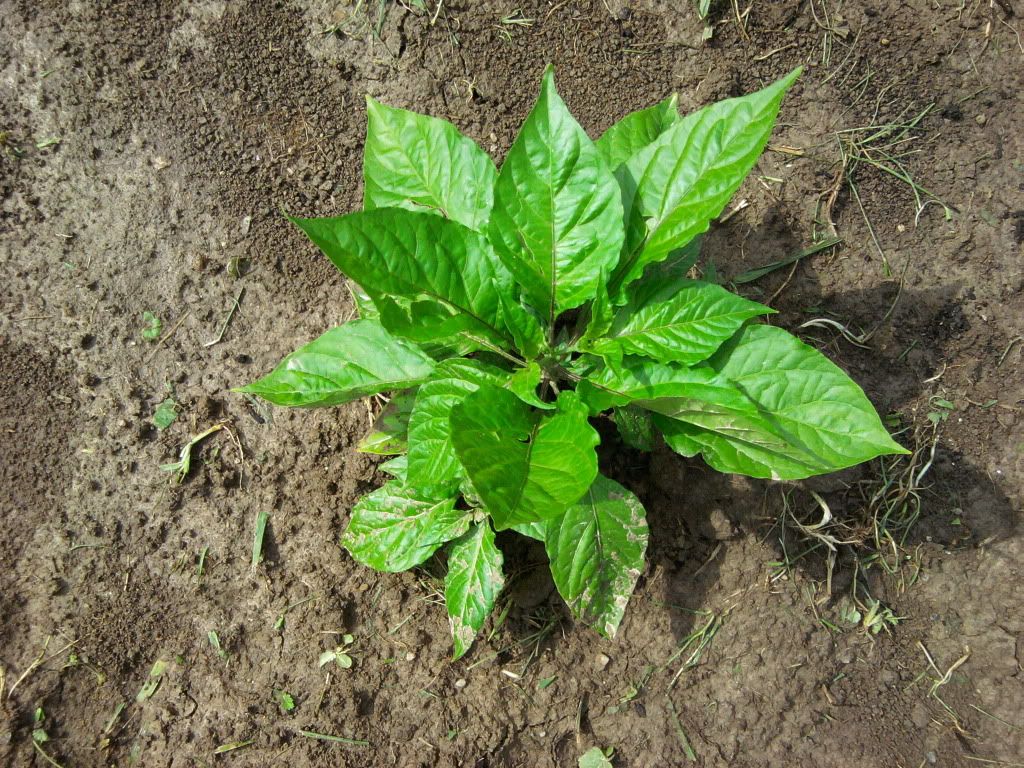
The first pic is of the hot peppers we are growing this year in our vegetable garden.
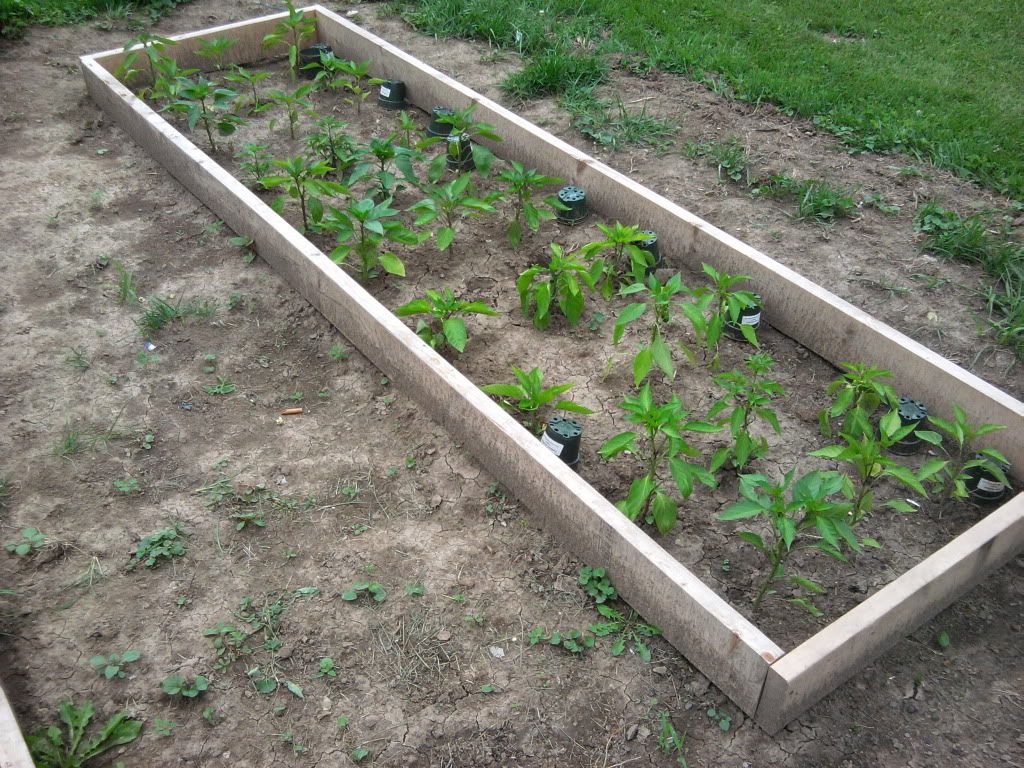
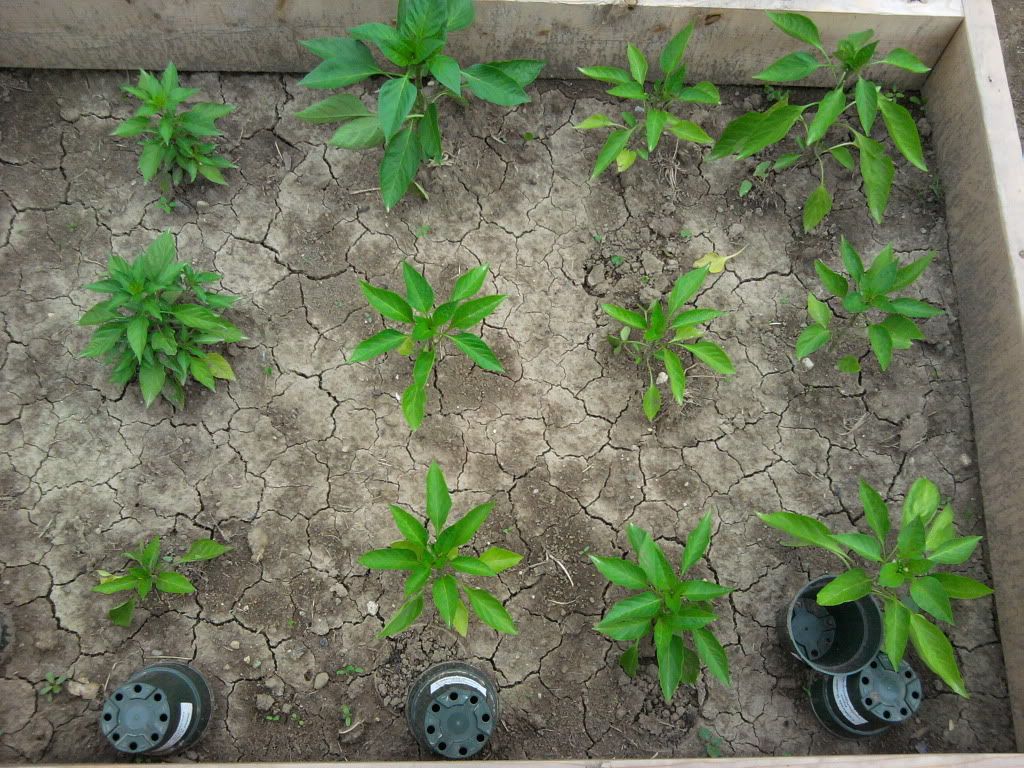
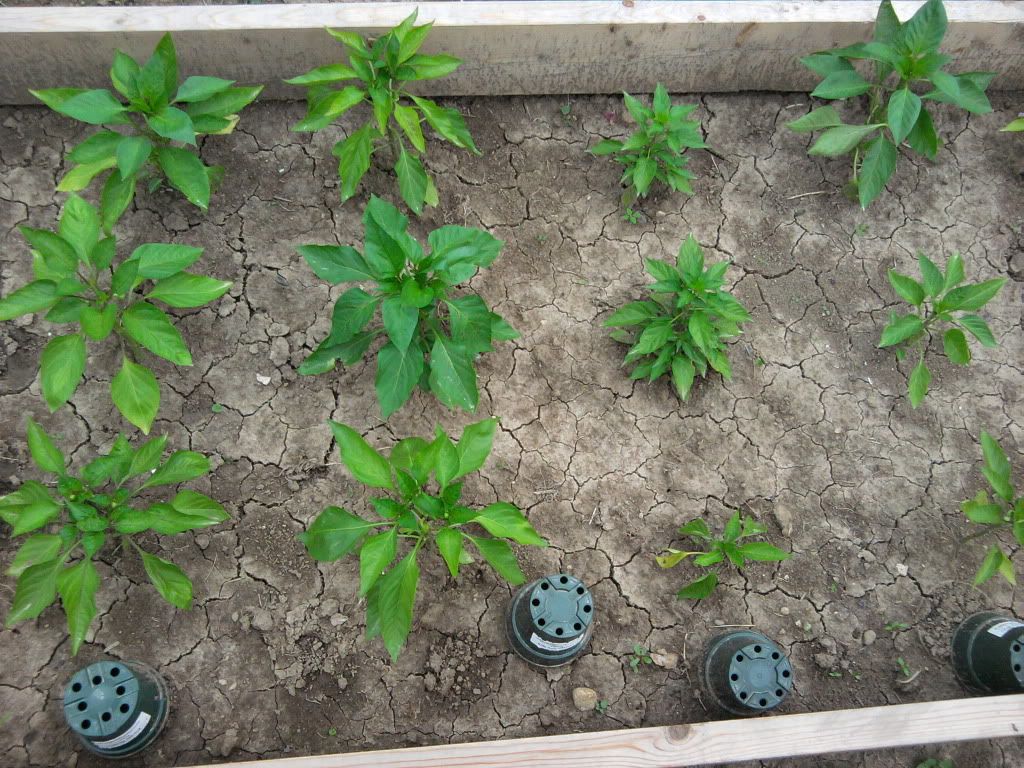
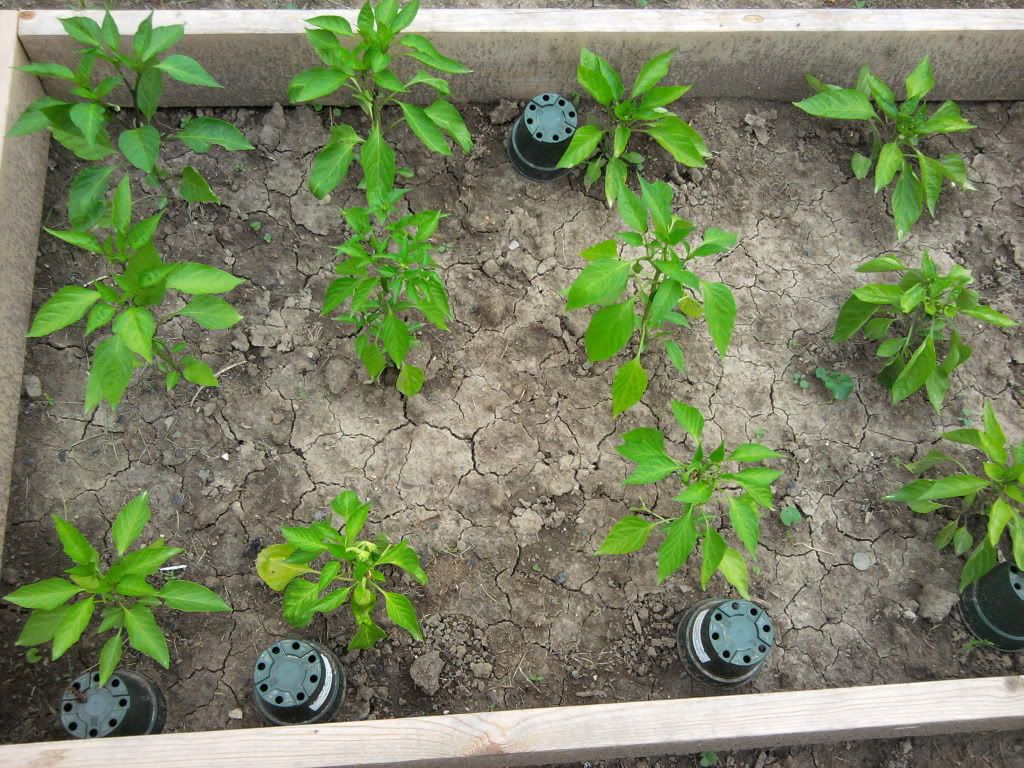
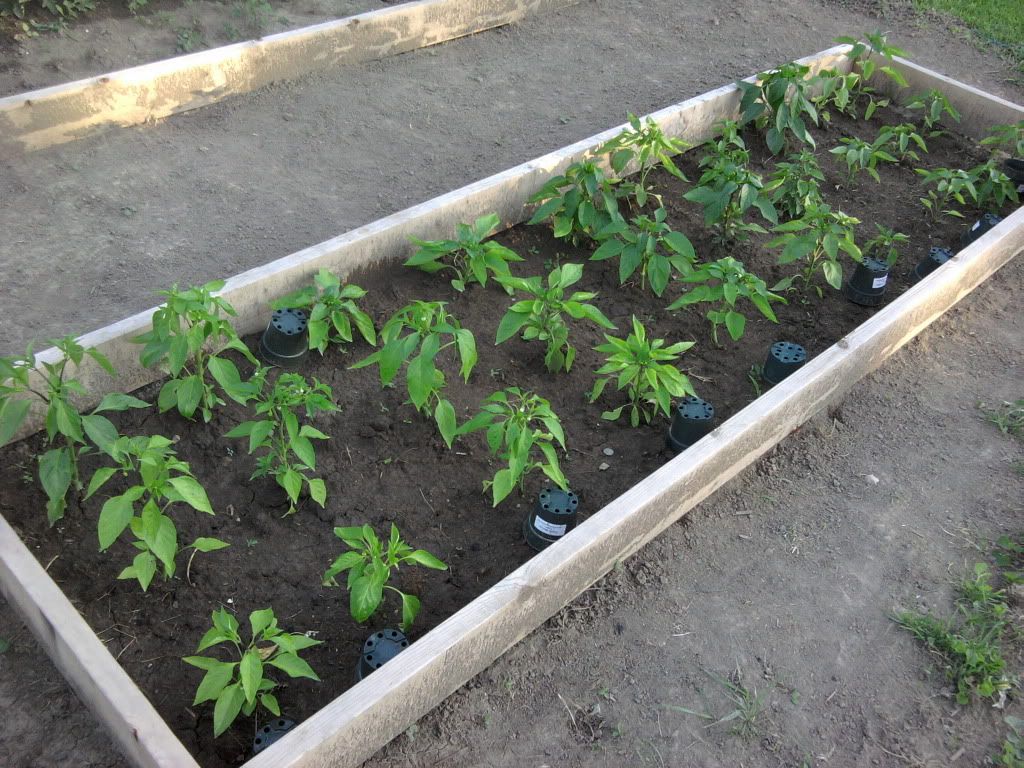
The next few pics are of my sweet peppers that are grow in a raised bed and planted using the square foot gardening method.
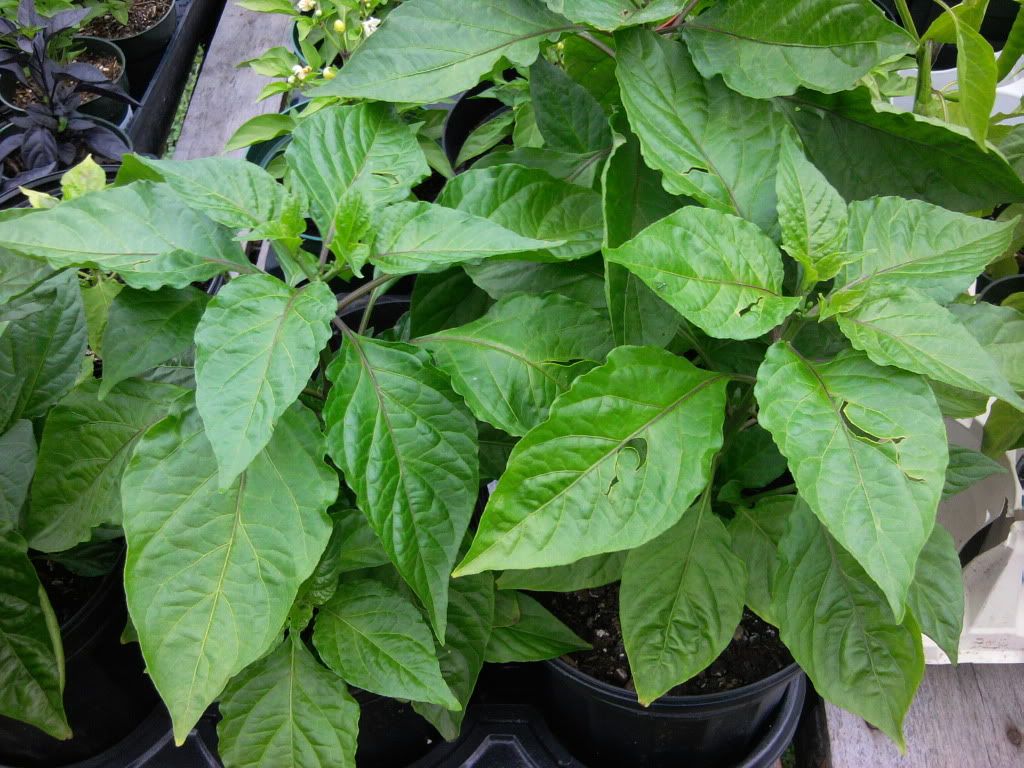
Here are some pics of my Bhut Jolokia's. They are the best looking plants I have. Maybe it is because I baby them so much.
I have taken a lot of pictures in the last week or so. I will be posting pics of our market garden which has 300+ pepper and 300+ tomato plants. I will be posting updates in the next couple of days.
Tuesday, June 28, 2011
Ornamental Pepper Plants Used In Flower Beds!
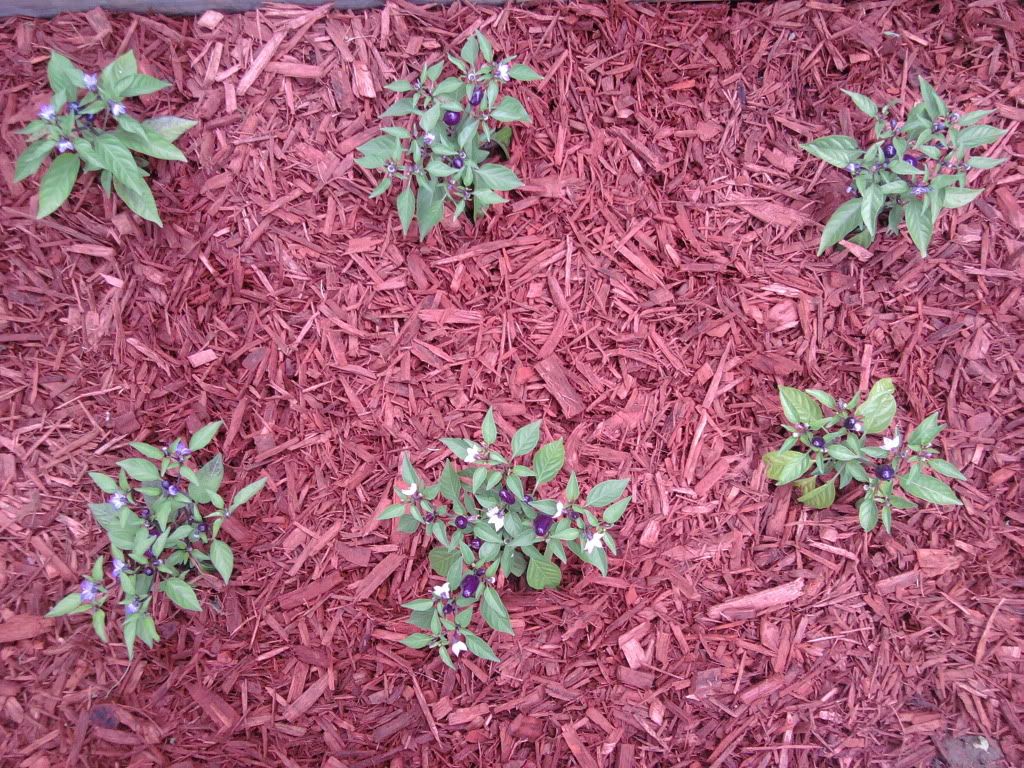
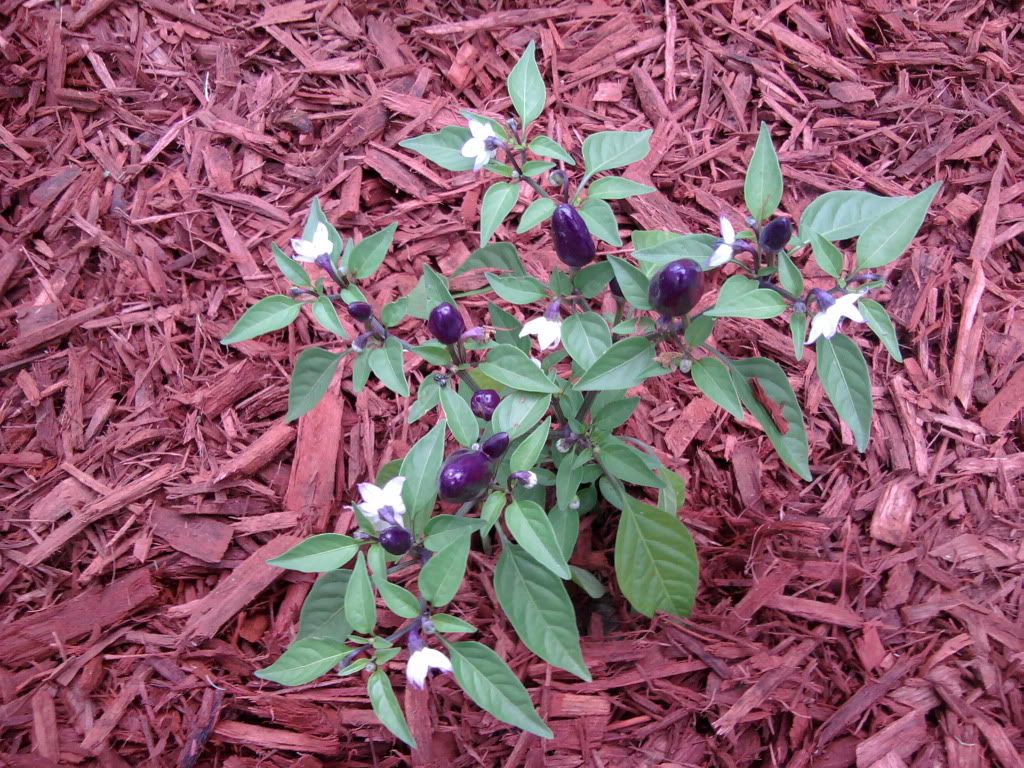
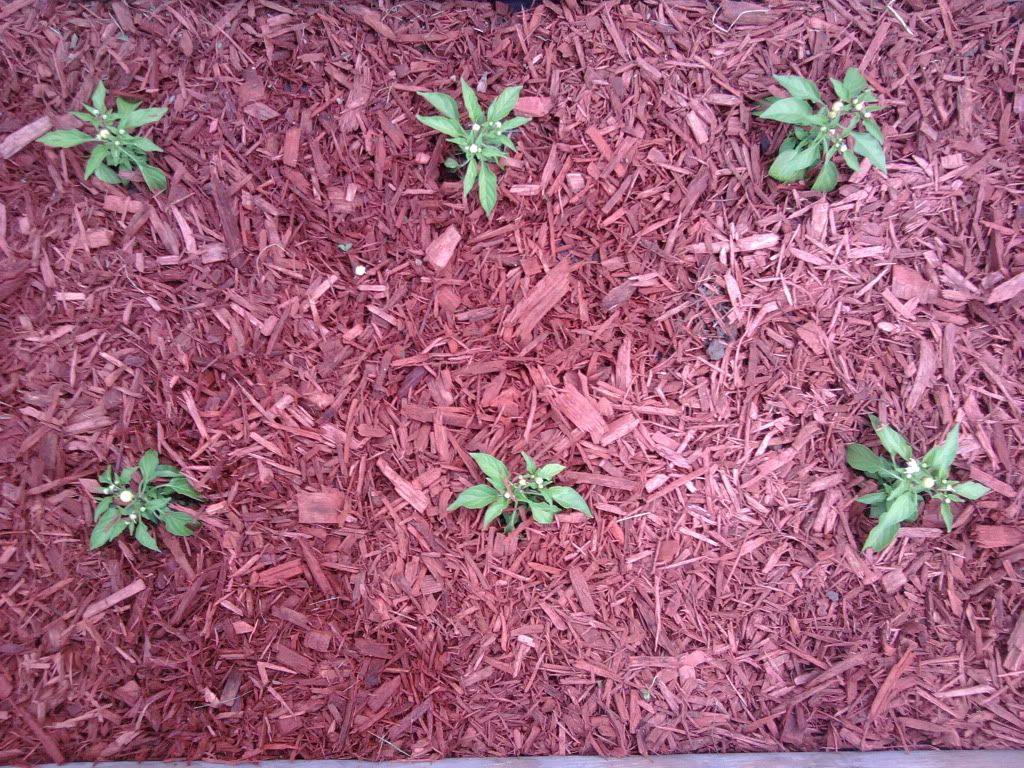
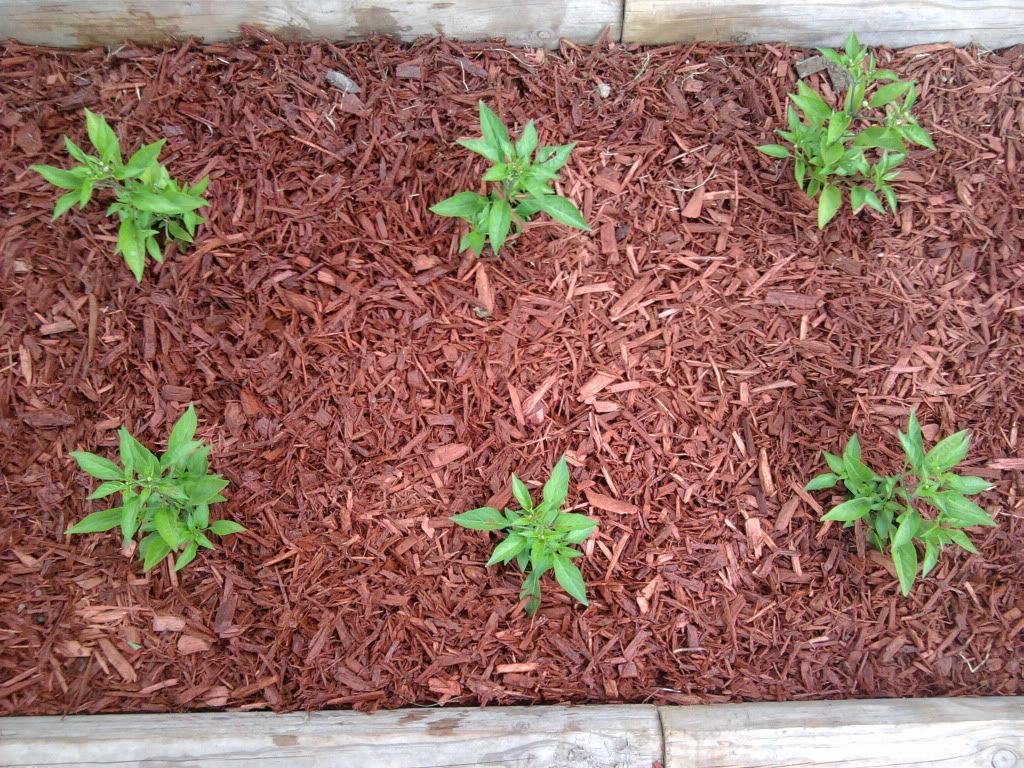
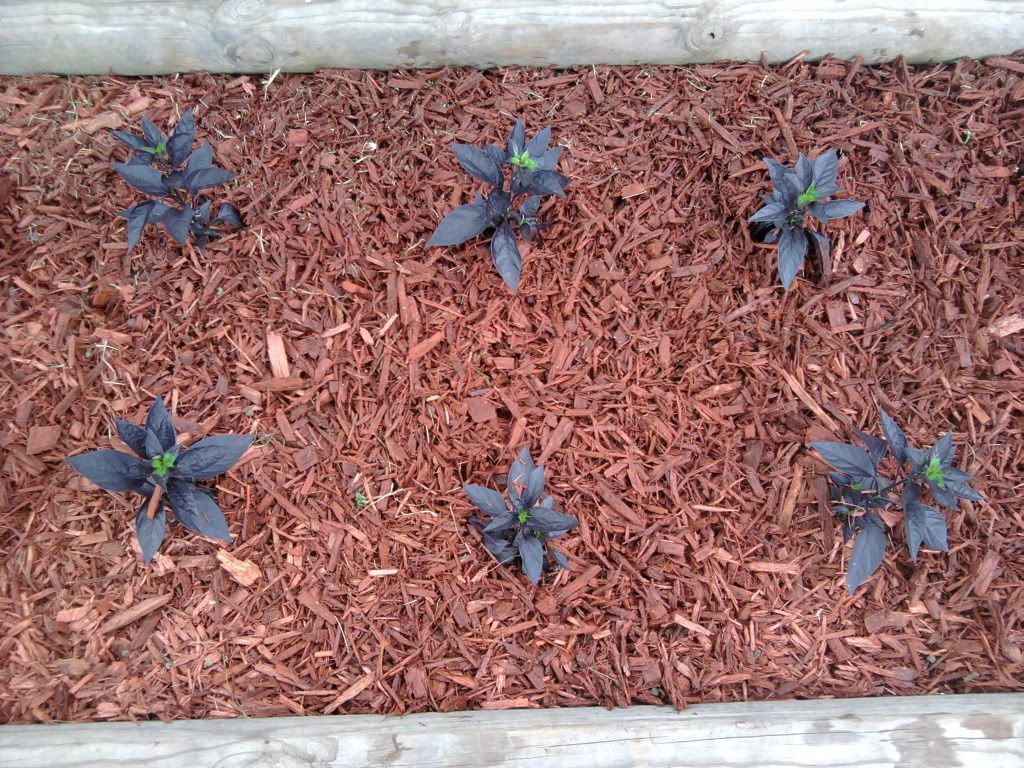
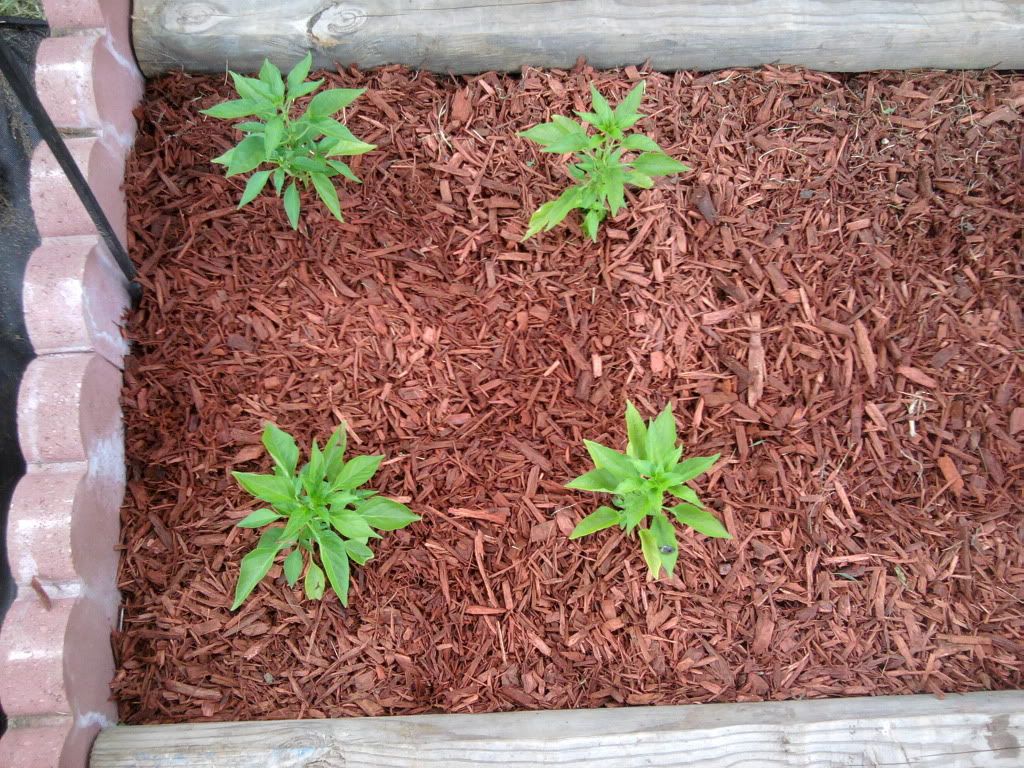
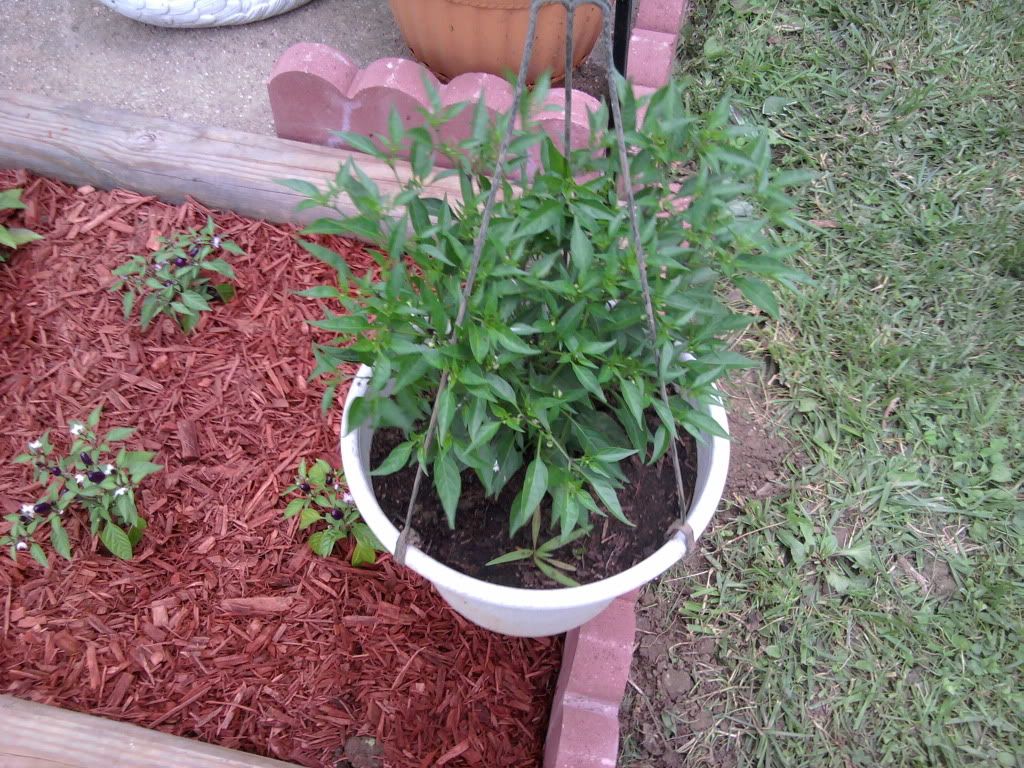
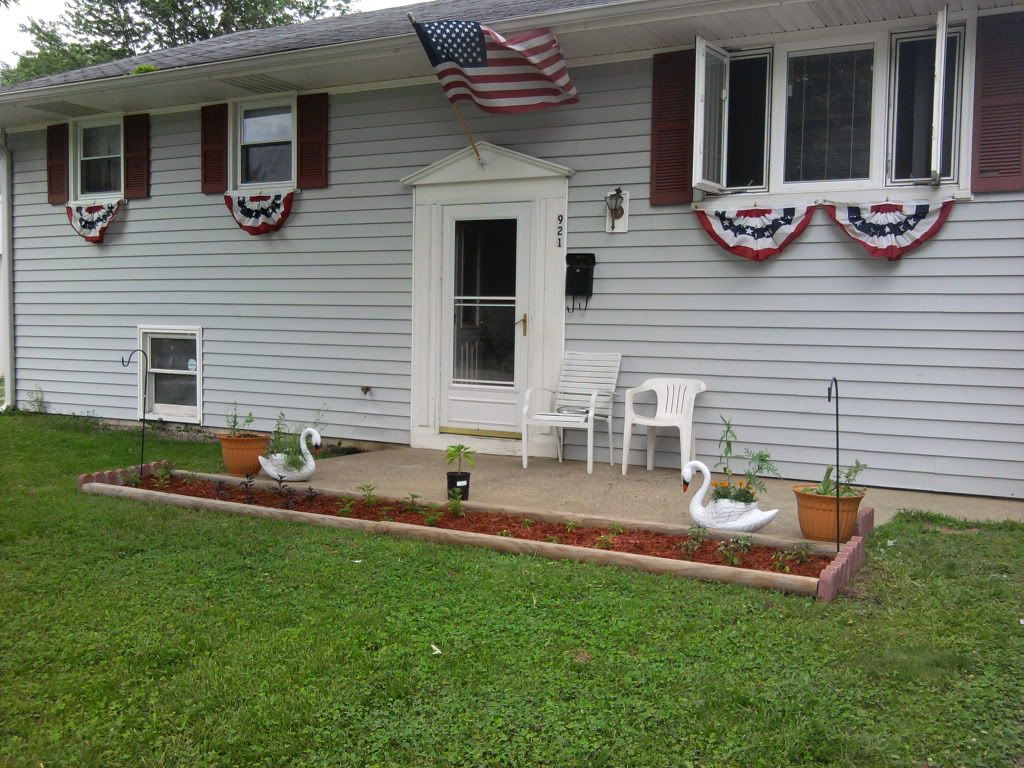
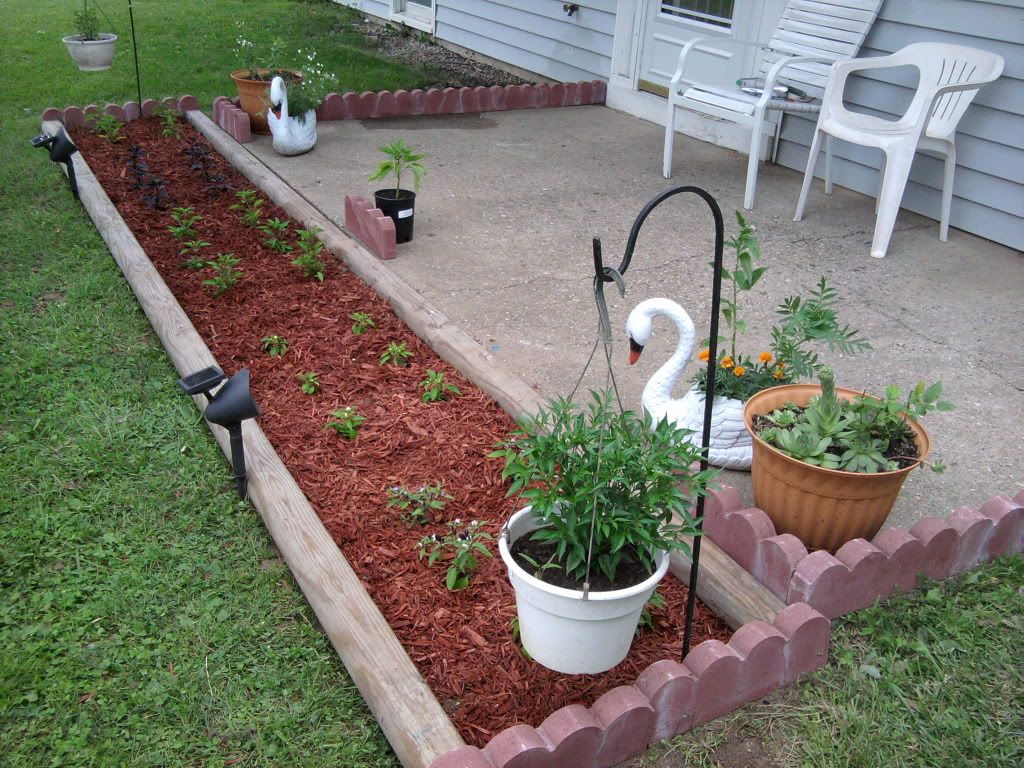
If you're looking for something "different" to do in your flower bed, plant pepper plants instead of traditional flowers. They look amazing. Most ornamental peppers are just that, ornamentals. Some are hot, but most have no flavor at all. They are edible, just not flavorful. They do, however, look absolutely gorgeous in front of the house. Once you get some ornamental peppers planted, be ready to talk about them, because everyone that sees them will be asking questions. Below are some pics I took of our flower bed in the front of the house. It is not the sunniest location, so the plants are still kind of small. They are already looking good. I have added some pics of my favorite ornamental pepper plants.
Filius Blue
Marbles
NuMex Twilight
Black Pearl
Poinsettia
Thai Hot
It is best to plant them where you have all day sun. My spot gets shaded from about 1pm on. If you want to do something that no one else has, this is for you. You can view pics and descriptions of each variety of peppers we grow at www.ThePepperGuy.net
The last 2 pics are of my flower bed in front of my house filled up with ornamental pepper plants.
Wednesday, June 8, 2011
Market Garden 2011 - Tomato Update
The rain has finally stopped so we were able to get some tomato plants in the ground for the market garden. Definitely later in the season than what I wanted, but better late than never. This year, we are trying out using landscape fabric to control weeds and moisture. I didnt really want to get into doing drip irrigation so that is why I chose landscape fabric over plastic.
In the first pic you can see how we laid out the landscape fabric and planted a double row of tomato plants spaced 12" apart. We will be using the "single stem" method of growing tomatoes which involves removing all suckers and letting the plant concentrate on only one main stem instead of 10-15.
After the landscape fabric was laid and the plants planted, we installed 2x4's as trellis supports. Next time we will install the supports before planting. We hammered nails into the supports so we have something to secure the twine to.
This pic shows all of the supports installed.
This is of the completed trellis. Well, almost complete. We still have to run more twine further up the supports, but I will do that as the plants grow.
Thursday, June 2, 2011
Single Stem Heirloom Tomato Garden Trellis DIY
The success of the heirloom tomato plant sales have been outstanding. I am so excited to grow 1 of every variety I sold this year, which comes out to be 26 different kinds of tomatoes. I think 20 are heirloom and the rest are hybrid. I went to my moms house and pulled some 4x4 posts off the burn pile. They are about 8 ft long, so they will be nice posts for the trellis.
I will be growing my heirloom tomatoes in a raised box 3' wide and 30' long and using the SFG concept.
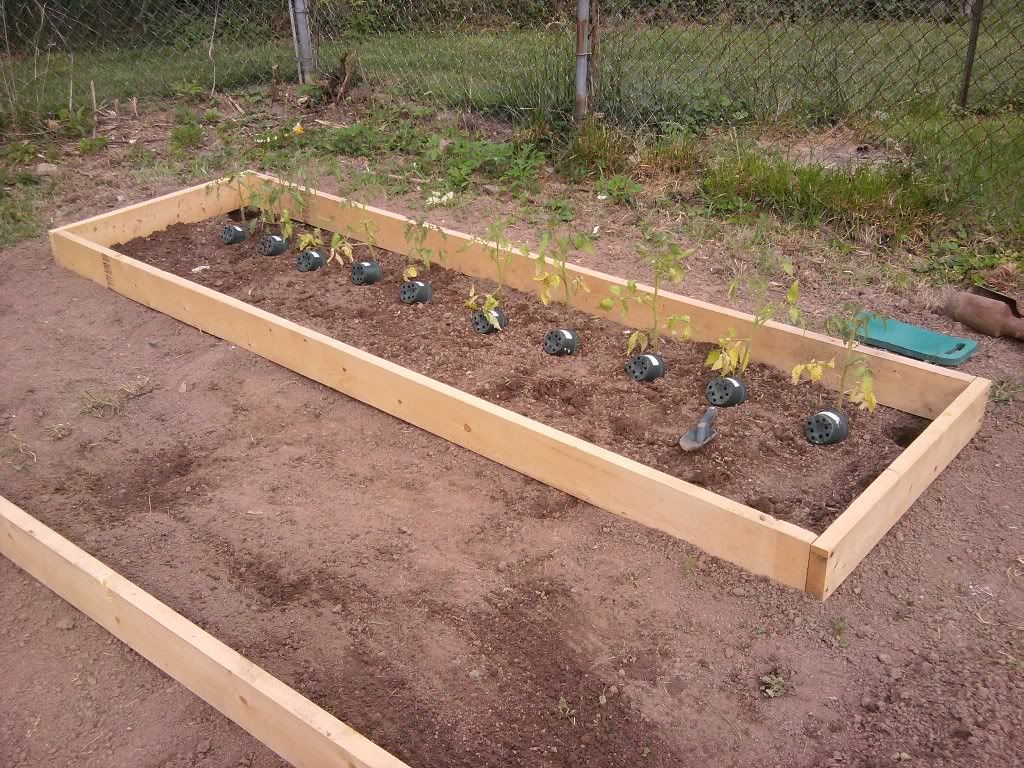
I used the recycled 4x4 posts for the main supports. I dug two holes, 2ft deep and then screwed the 4x4 posts to the bed frame.
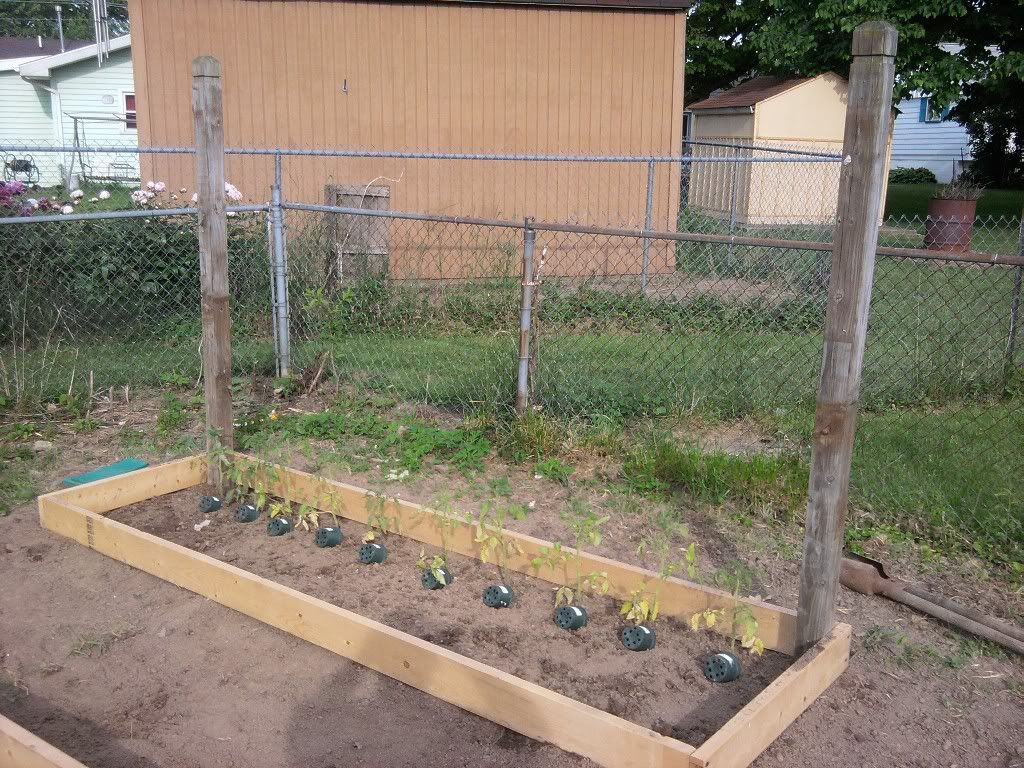
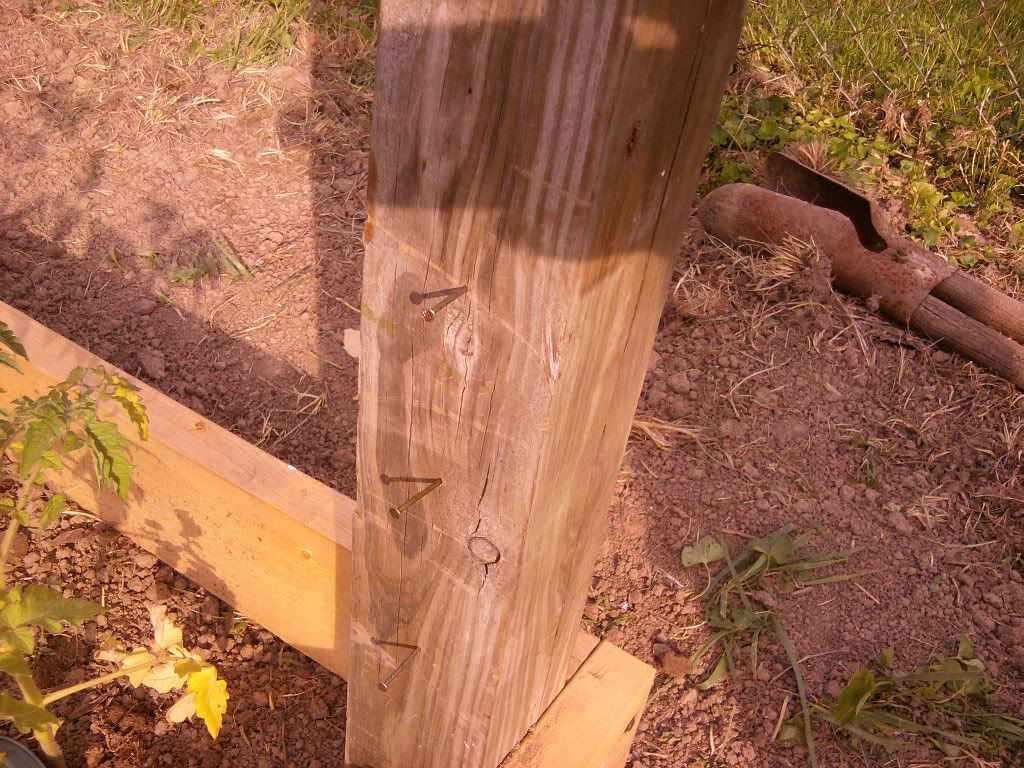
After getting the posts set and screwed to the base. I hammered some nails 6 inches apart all the way to the top. Next time I will do the nailing before I set it in the ground.
I wrapped twine around the nails from one end to the other and back again making a trellis all the way to the top. Well, almost to the top. I ran out of twine.
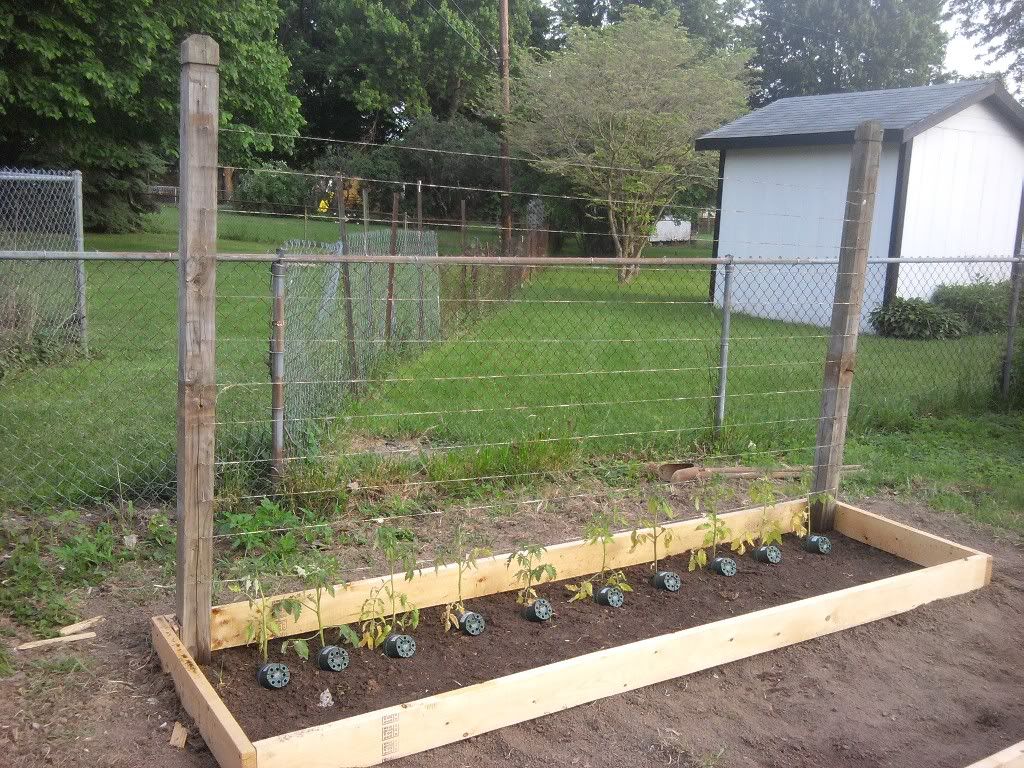
As you can see from the pics, the tomato plants are planted about 12" apart. I am borrowing the concept from the SFG(Square Foot Gardening)idea. What I am doing is removing all suckers from the plant so it keeps only its main stem receiving nutrients. The idea is that the plants have the same size root ball. With removing all the extra suckers, all the nutrients go to the 1 stem, not the 10-20 sucker stems and grow as main stems. That is why a tomato plant can get out of control and take up a lot of space.
I use tomato cages made out of old field fence. It works great. I cut about a 8-10 foot piece and attach the two pieces and make it round. Works WAY better than traditional tomato cages. Not to mention it is WAY CHEAPER!
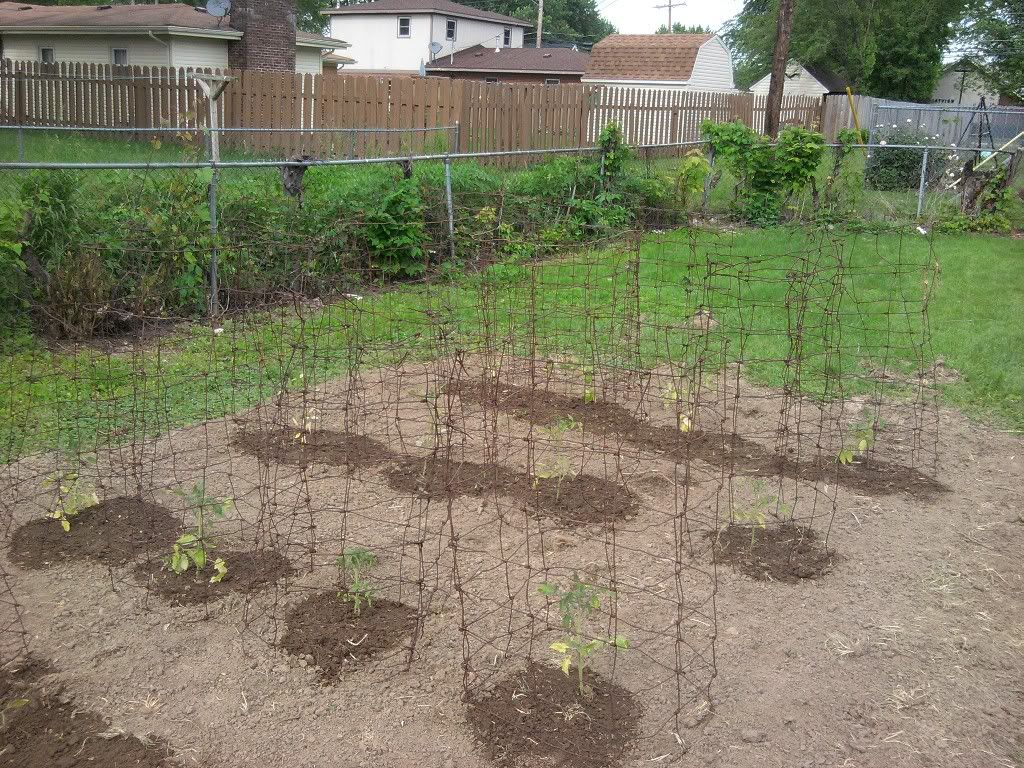
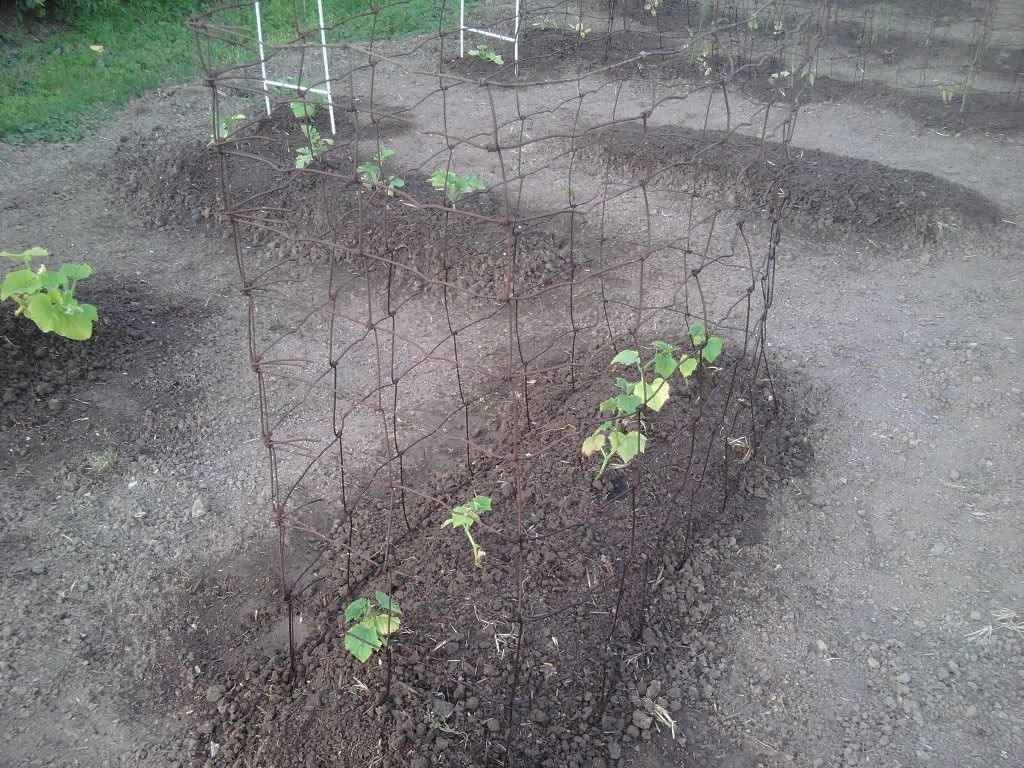
I also took the concept on the tomato cages and made a cage for cucumbers. I will eventually put cages around the watermelon, pumpkin, and cantaloupe.
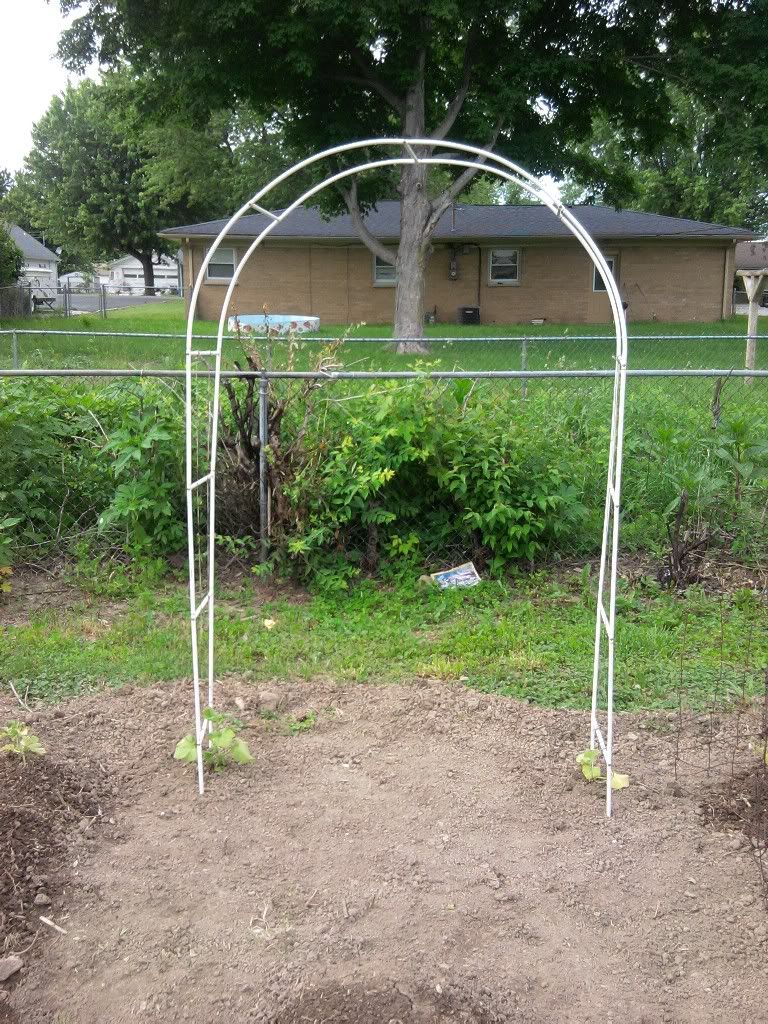
And since we are talking about using a trellis, we installed a trellis my wife bought at a rummage sale in the garden for the squash to grow on. I had to re-enforce the sides with twine to help with the vining. Other than that, it looks good.
I think that's it for today. Big day tomorrow. Going to the market garden plot we have outside of town. We have 300 tomato plants to plant and 300 pepper plants to plant. Going to be a good day. I am hoping for nice "working in the garden" weather.